Ok, it's been a couple of weeks since my last update on my handbrake thingy. But I have been working on it in bits and pieces, and kept leaving the camera in the garage. lol Oh, there was a kinda secret squirrel business, but it really isn't that secret, as I understand it's fairly common in fiberglassing, at least in boating circles.
So, so I glassed in the back of those pockets for the seat belt clip to make sure they're good and strong. Had some issues with bubbles, wasn't sure if it was because I used hot melt glue to assemble them, or it was reacting to the permanent marker I used to mark out where I was making my cuts (could see it 'bleed' when the resin hit it), or most likely, just my lack of skill. I let it dry and then hit it with my dremmel to open the bubbles up and filled them with resin, which seemed to work ok. Not that it matters much, as this side will be on the inside. So you won't see it anyway.
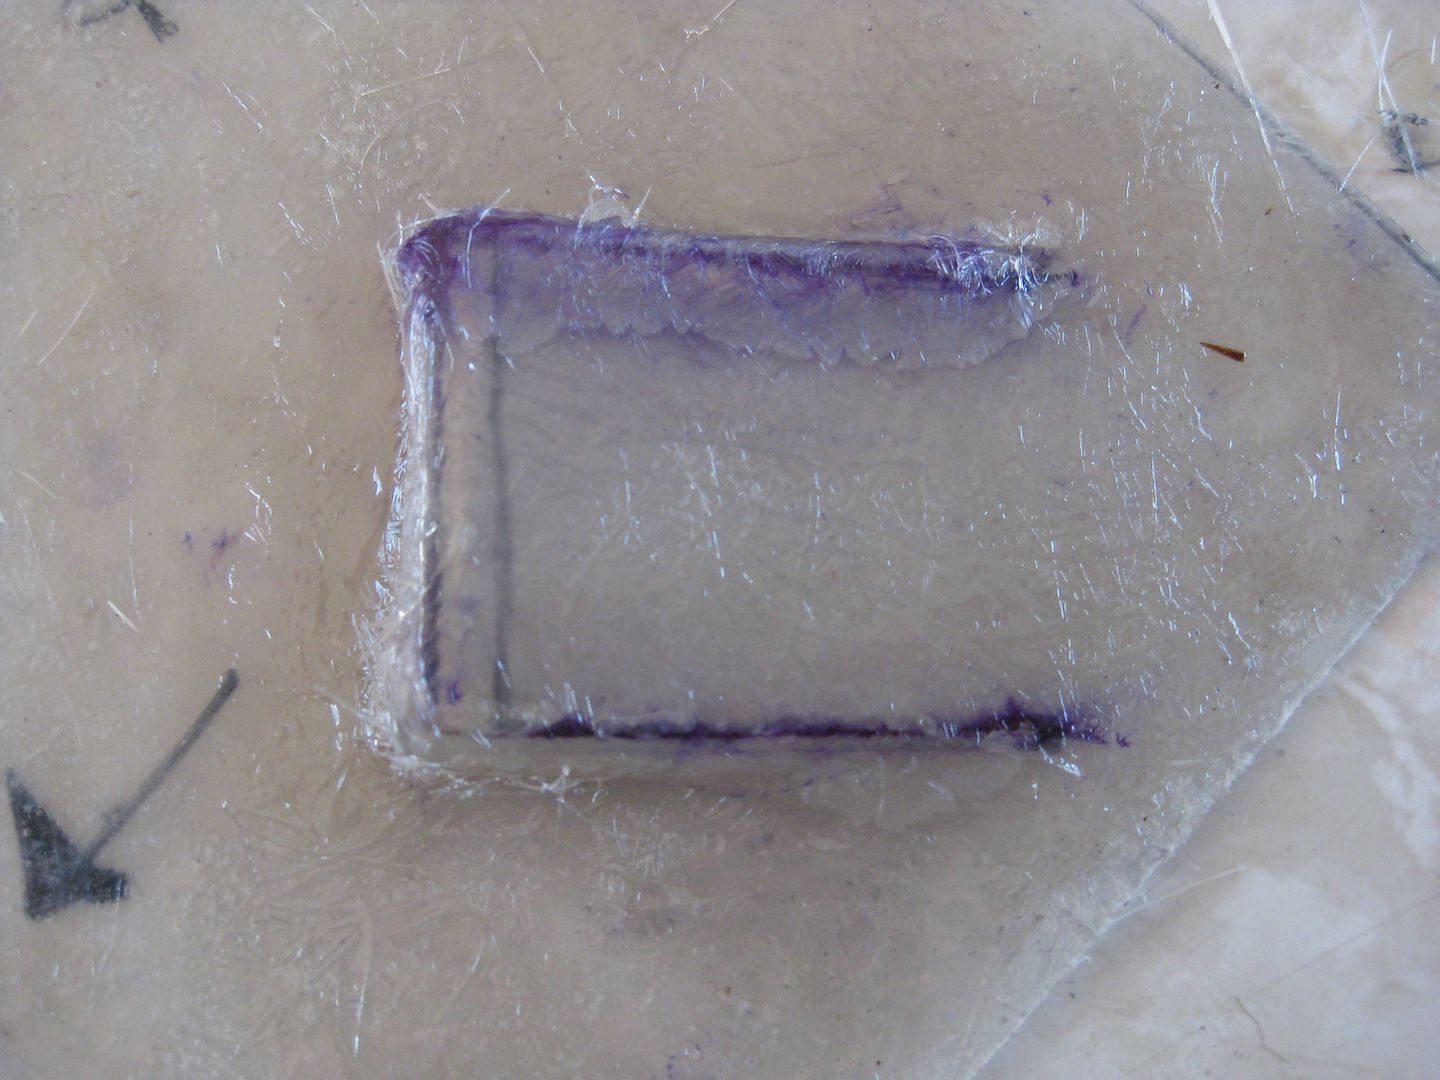
Then I had an idea that wasn't in my original plan. A recess on the top to keep small things in, like loose change for example. So I then cut a piece out of the top section, and went to work in making a recess into it.
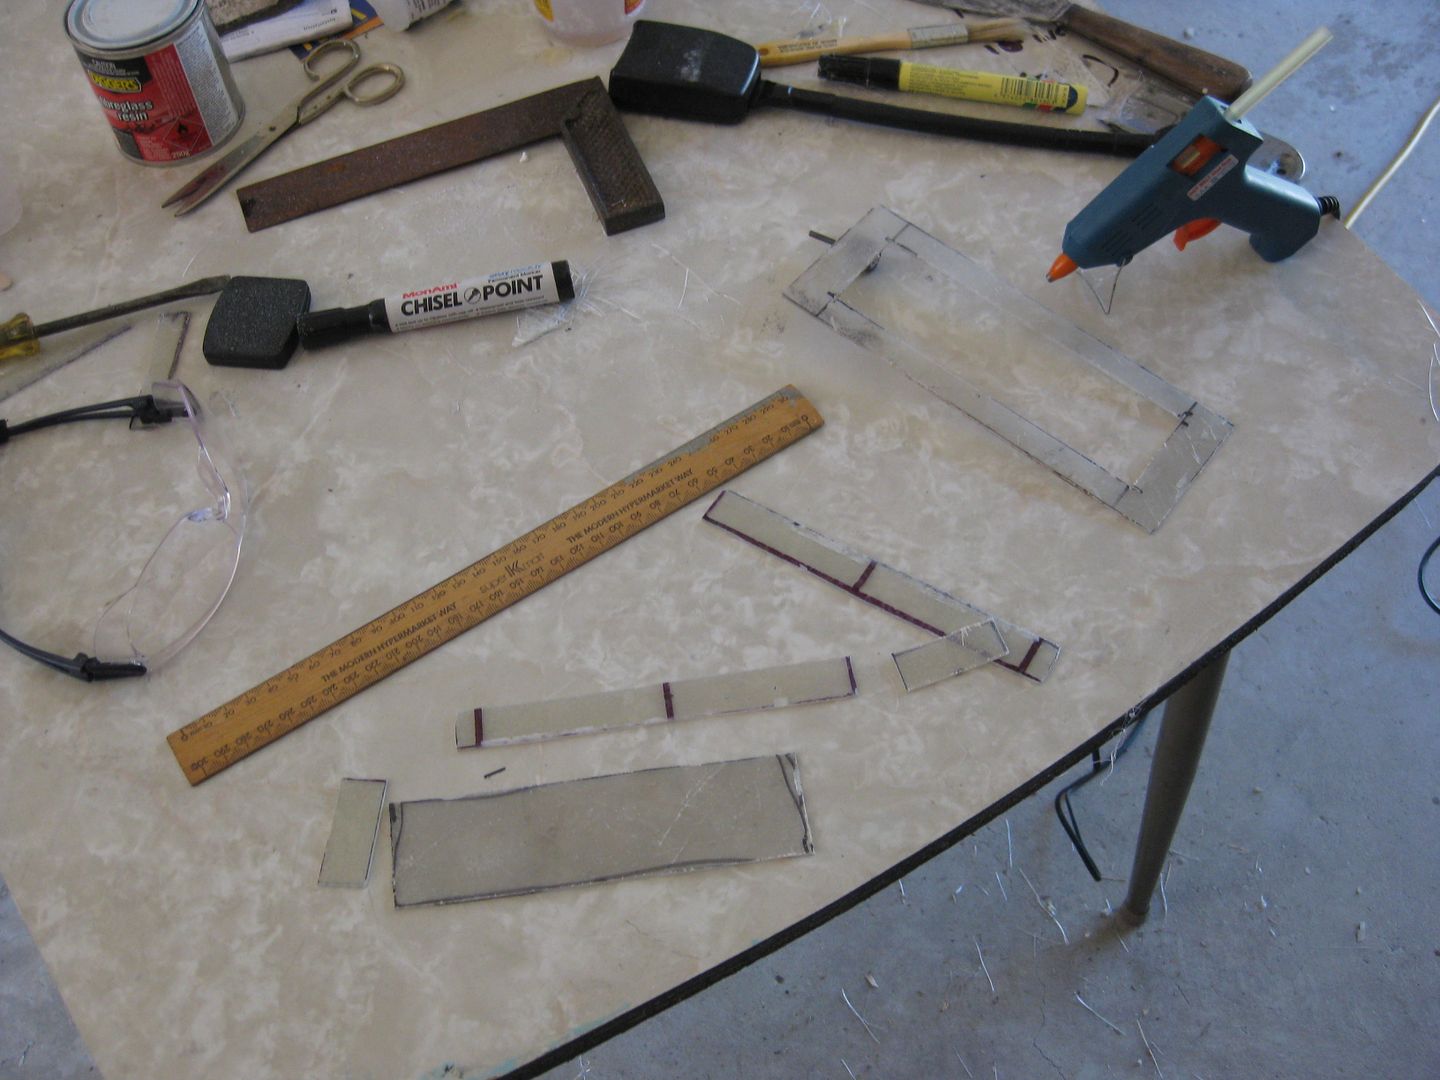
Used some tape to hold it together to give me an idea of how it would look.
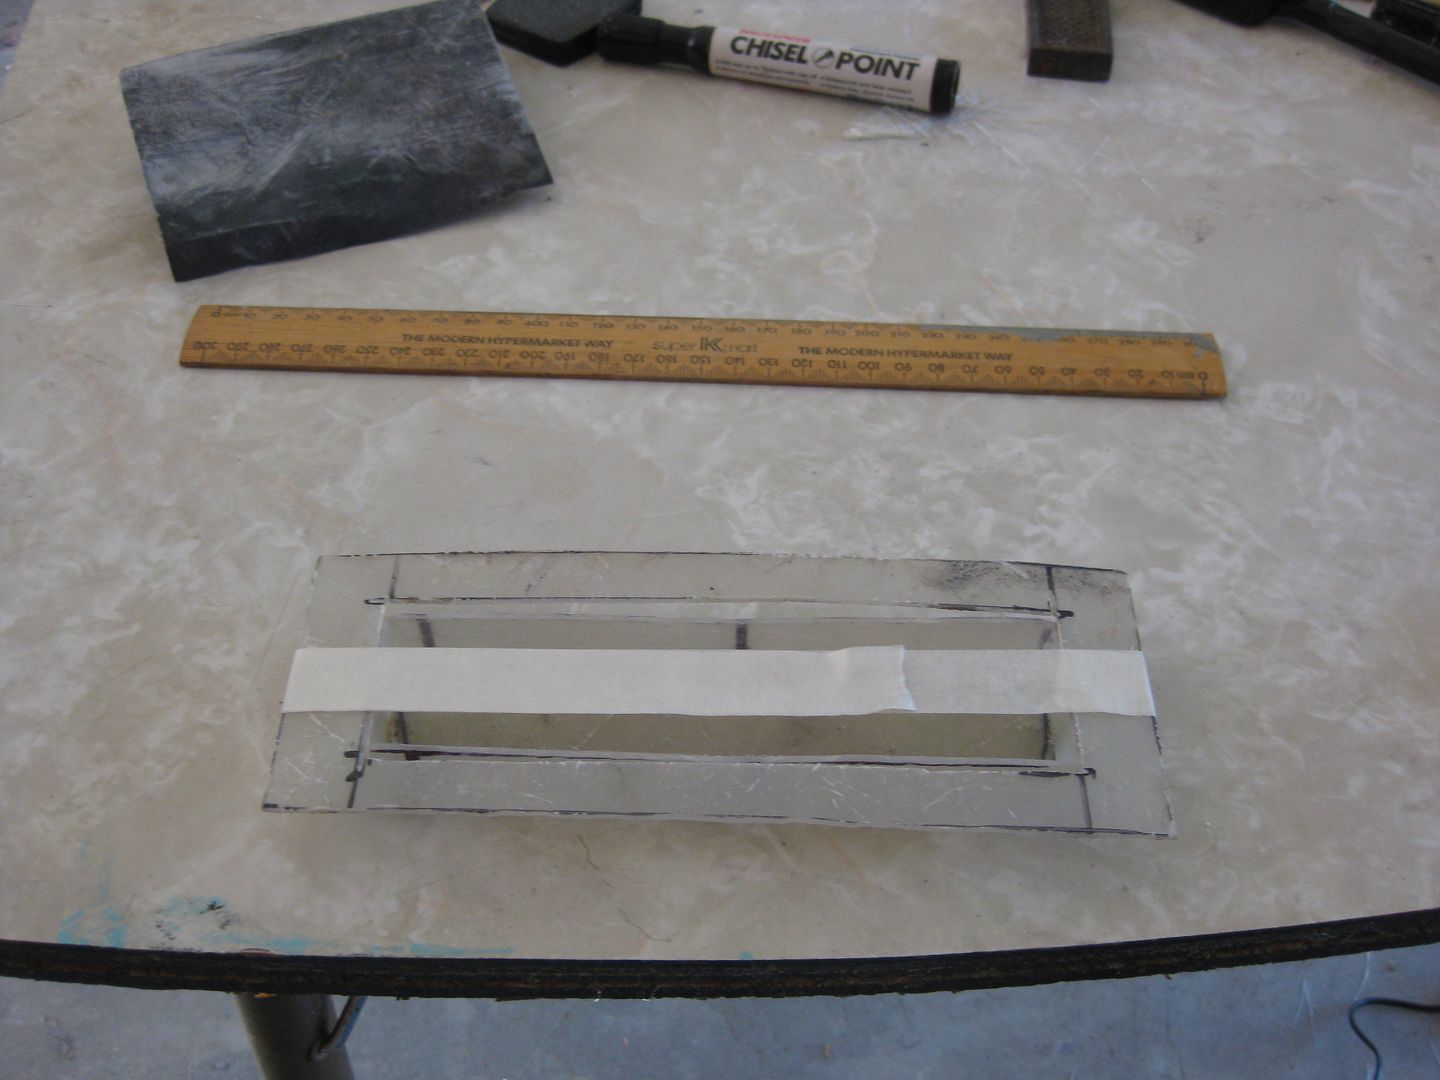
I ended up with some gaps between the upper surface and the inner sides. Didn't worry me much, as this is where the secret squirrel bit comes in. You can use body filler to get a radius curve in the fiberglass.
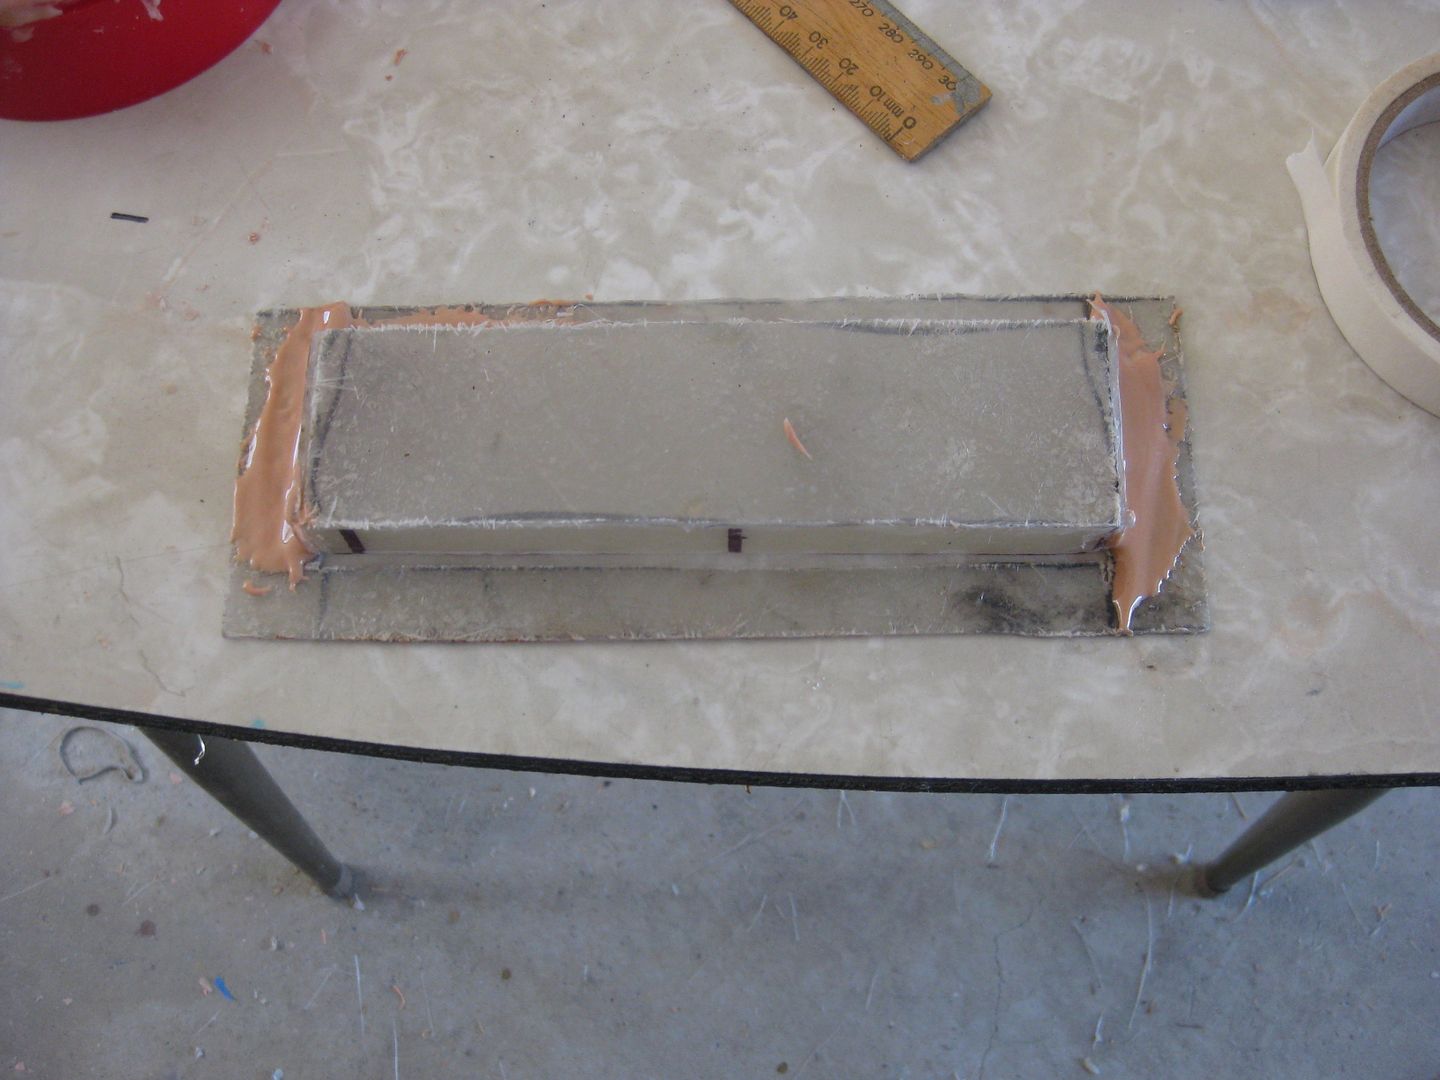
Still, I thought I'd add some fiberglass to the top as well as underneath to get some extra thickness.
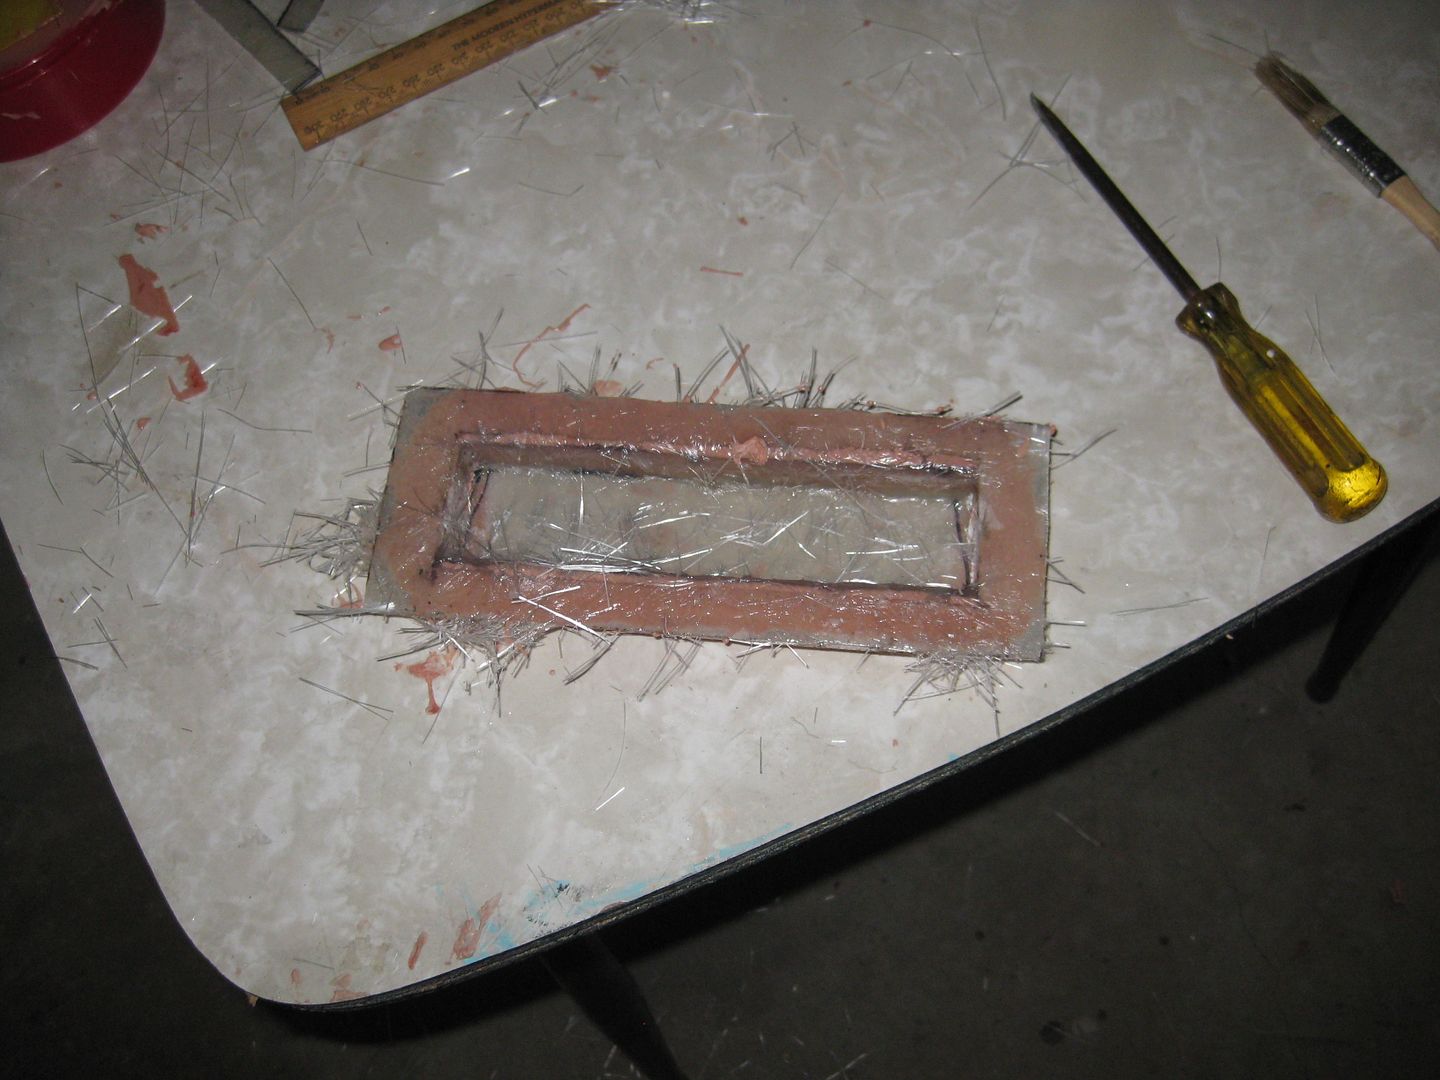
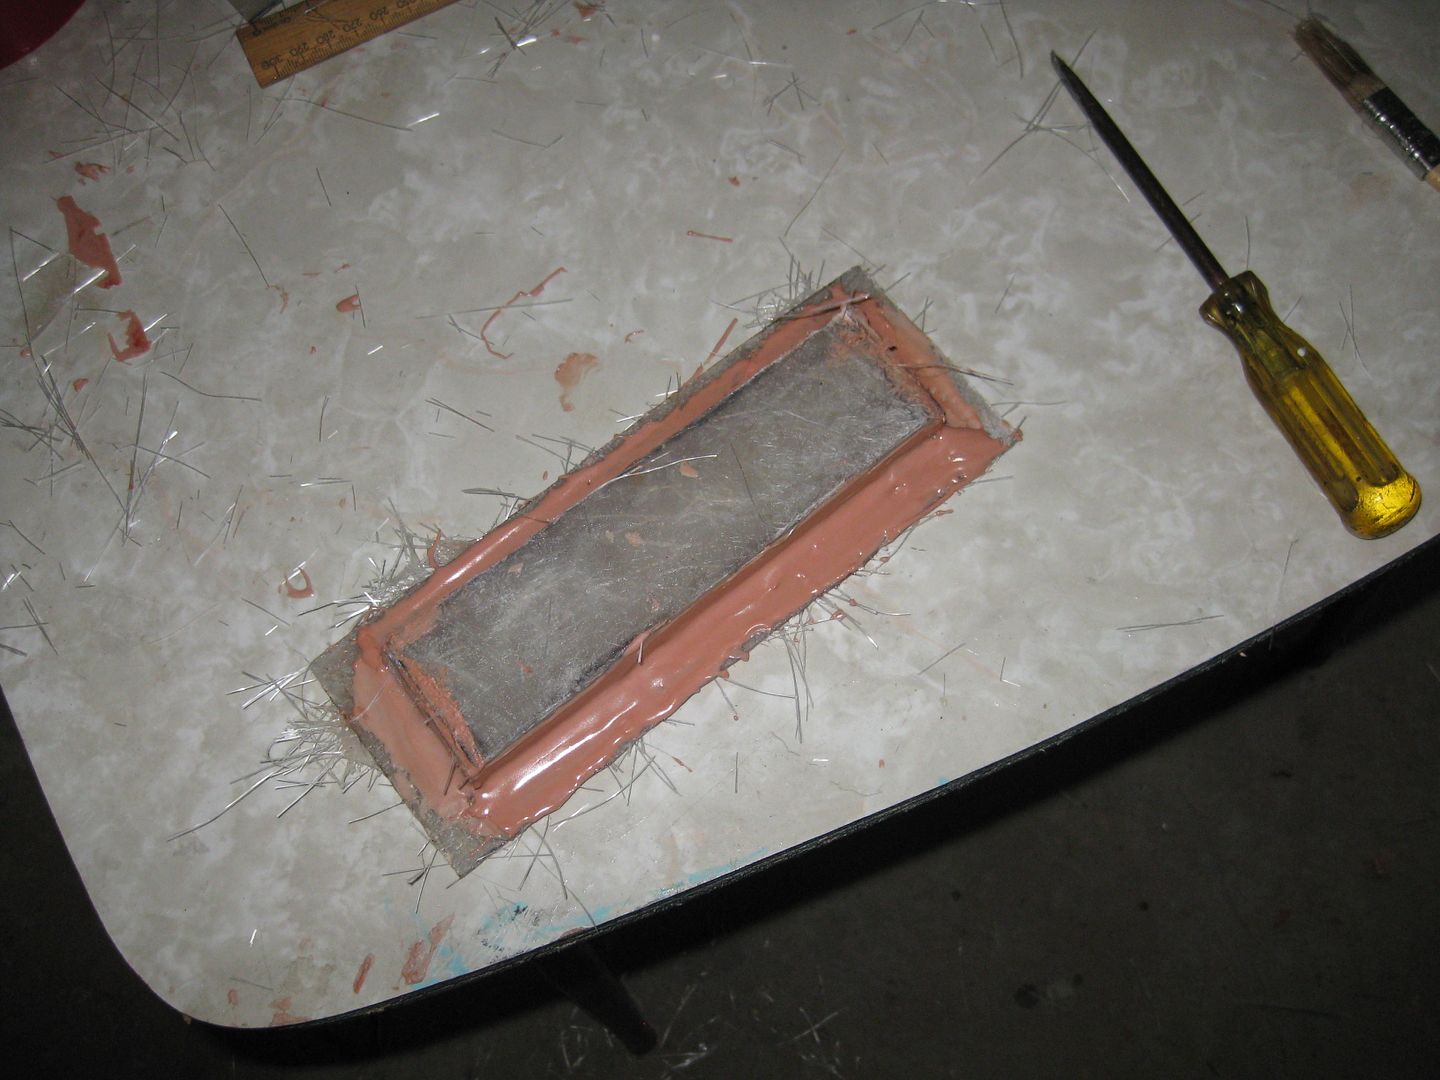
Before the next step, thought I'd clean the part up so I can see what's going on.
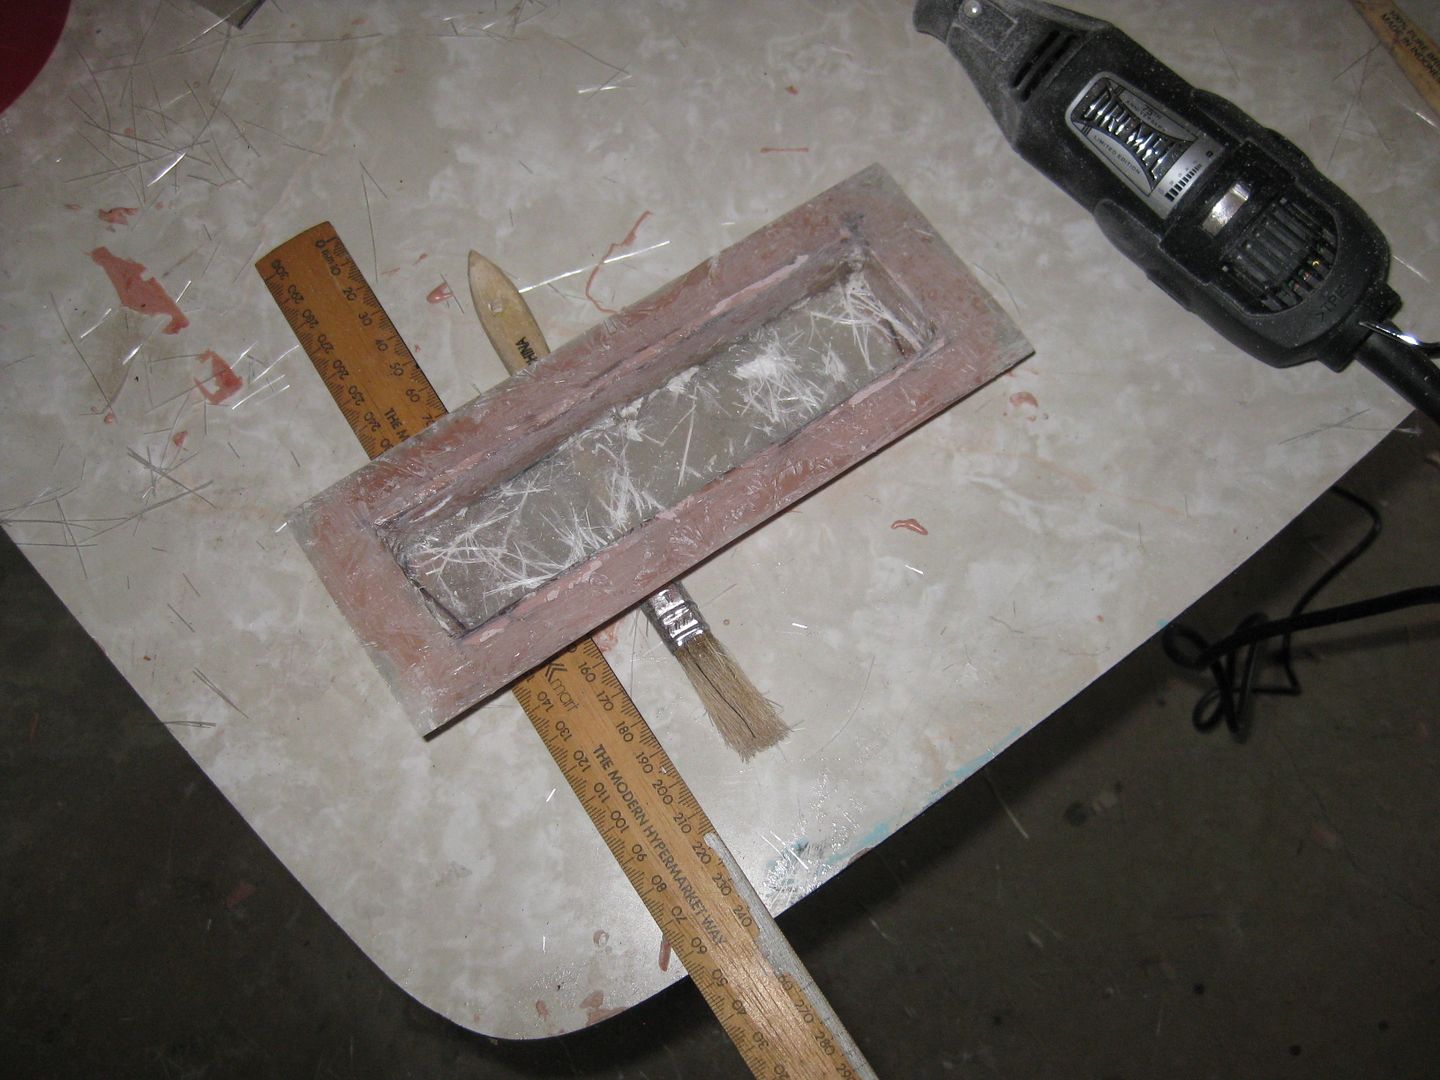
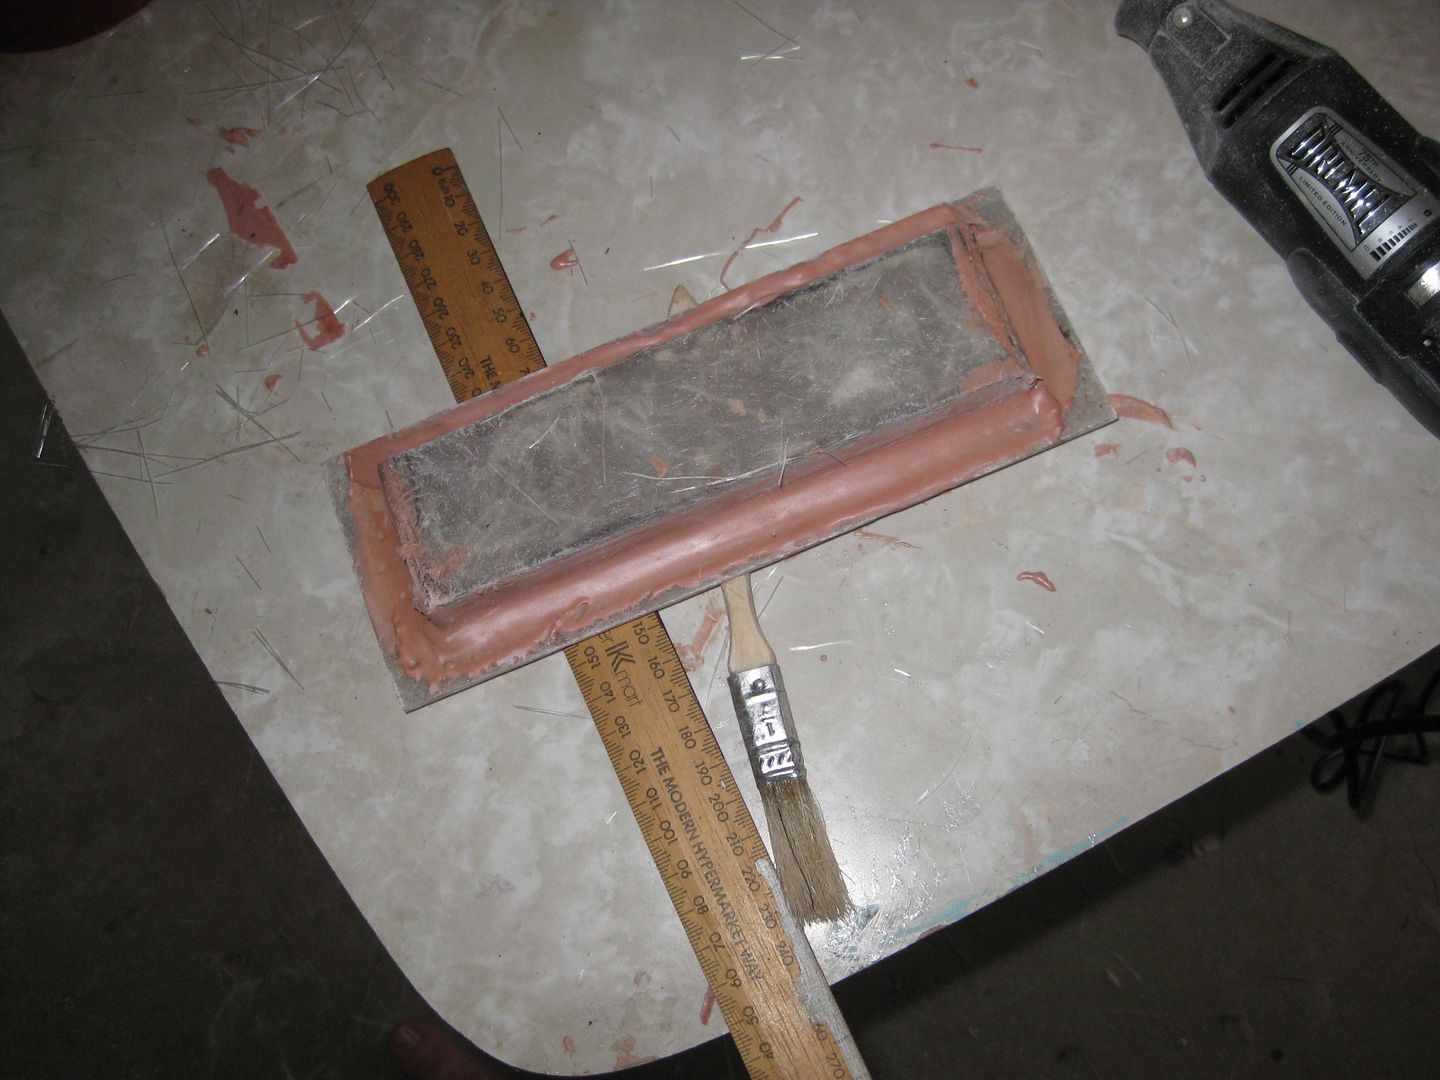
I forgot to get photos of the next bit, but basically I laid up some fiberglass over the body filler.
The next bit is the second bit of the secret squirrel bit. You then grind/sand the fiberglass
on the top to get through to the added fiberglass underneath. The idea being that you grind/sand though the outer fiberglass then the body filler, leaving you with the fiberglass
under the body filler, and a radius curve or at least a nice rounded curve.
I probably should have left it at this stage, and bugger the body filler and extra fiberglass.
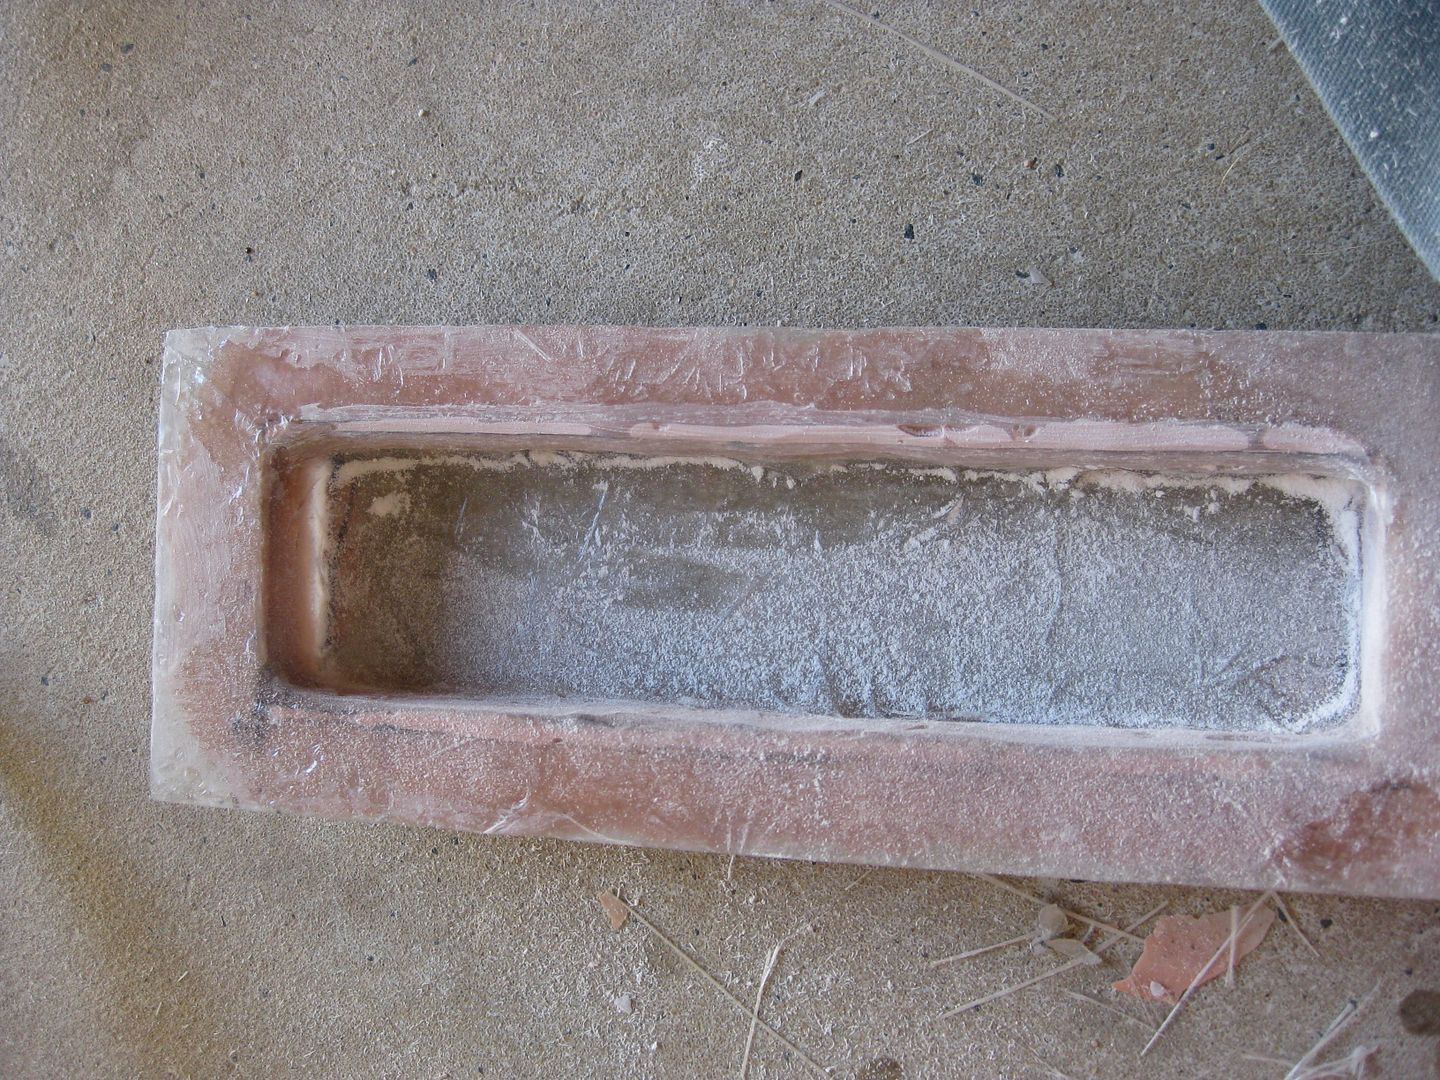
And instead, I got carried away.
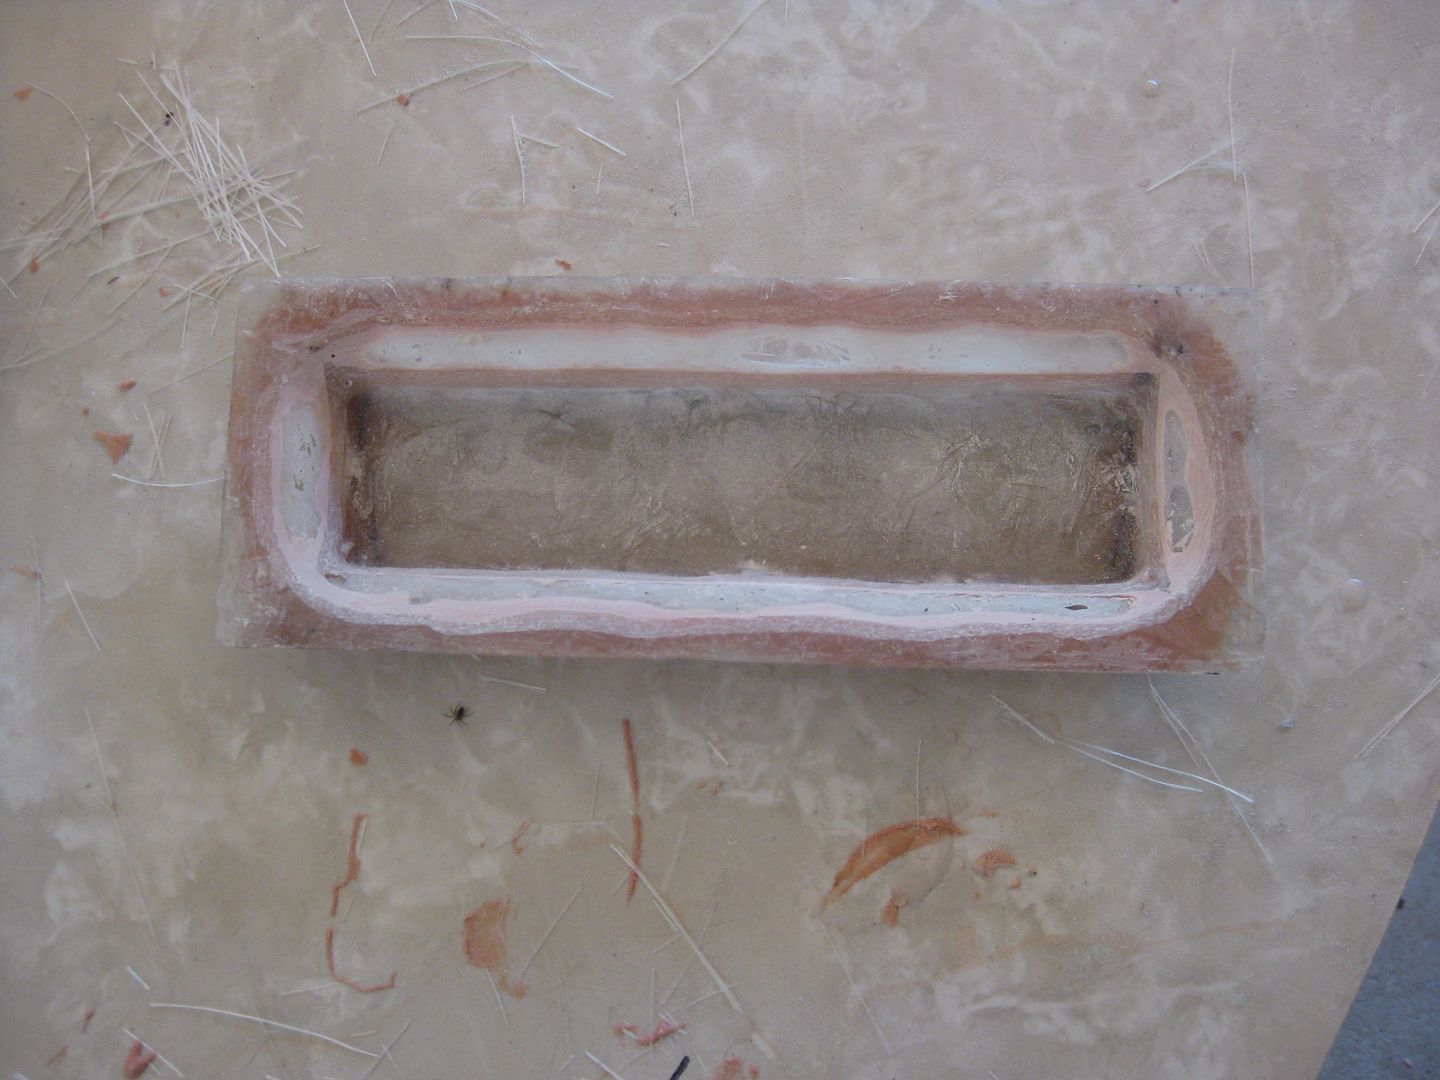
Some areas under the body filler the fiberglass was thin, and I sanded straight through it in a flash. So I ended up adding more fiberglass back on top of the piece, so I could then have another crack at it. I didn't take any photos of this stage. I added several layers of fiberglass and then sanded/ground it back down, but the curve isn't as bad as the first attempt. Still too much of a curve, but that's cool, I can live with it.
I also tacked the assembly together with hot melt glue, and then hit the undersides of the corners again with body filler. And today, I was a bit bored so I decided to go out and fiberglass in the inside of the corners.
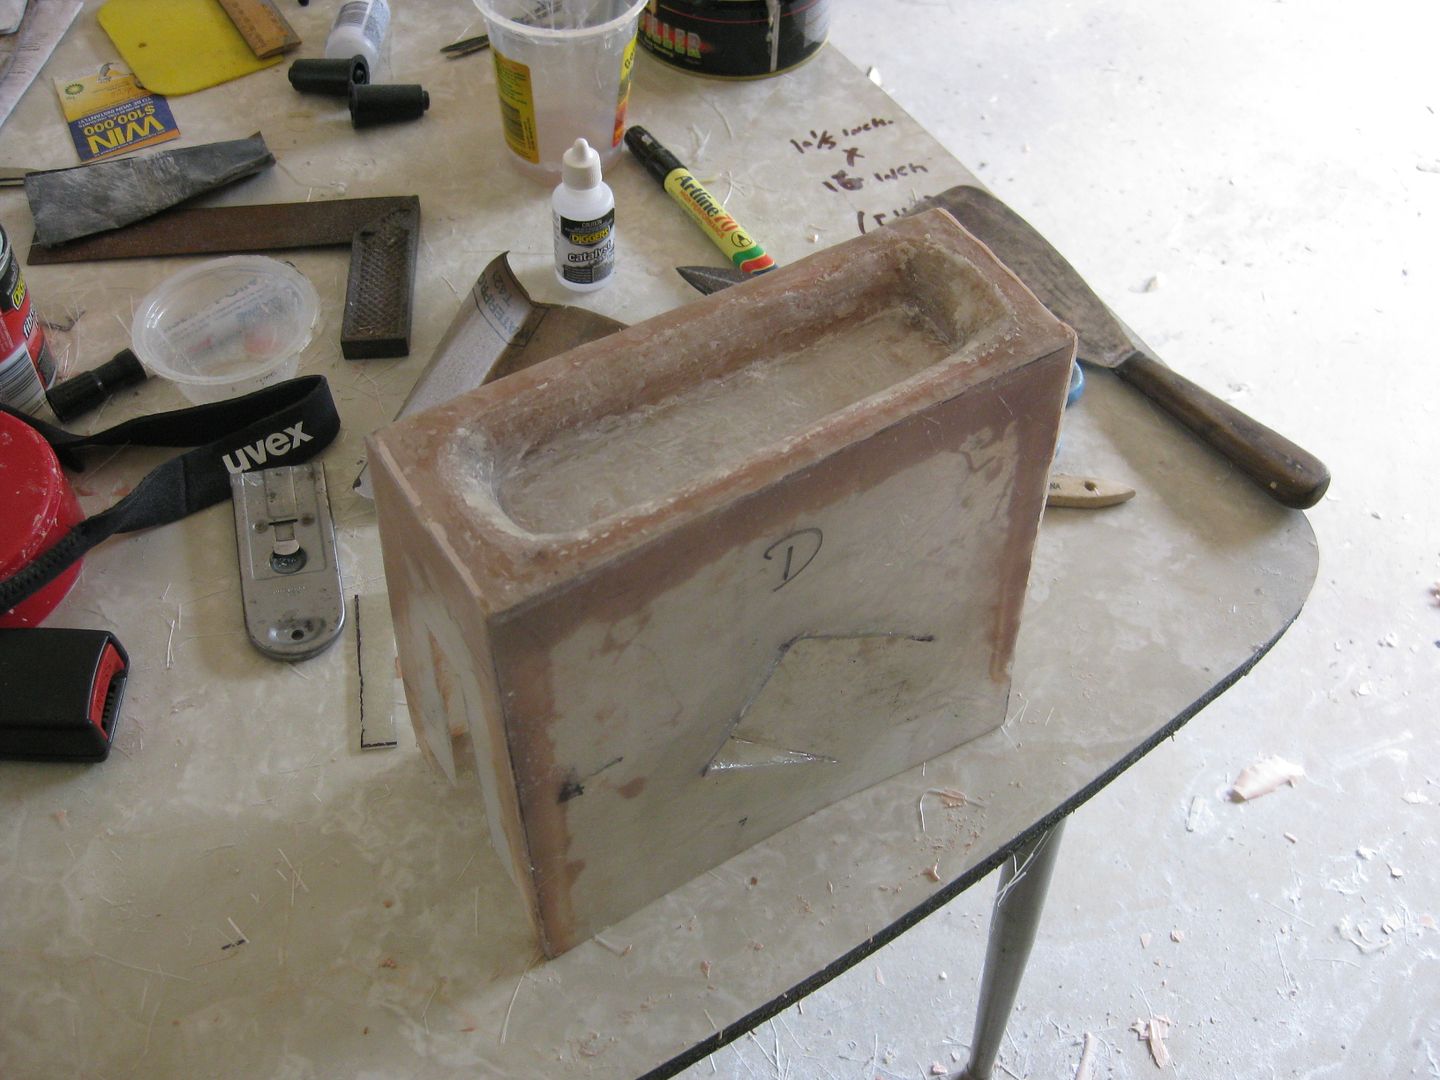
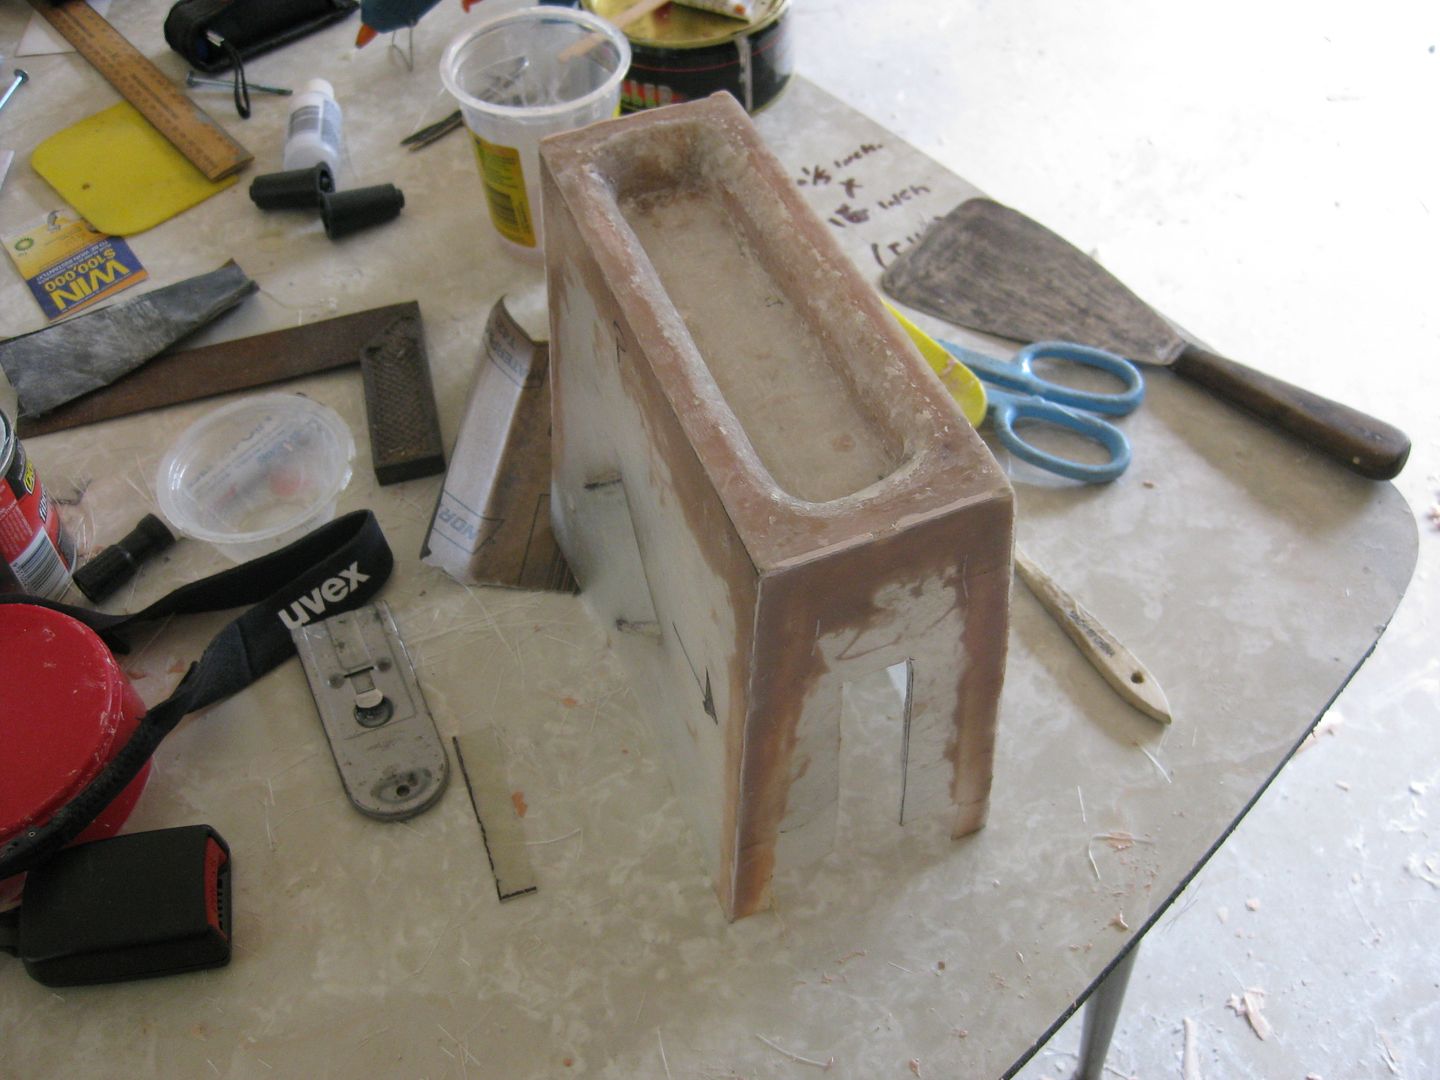
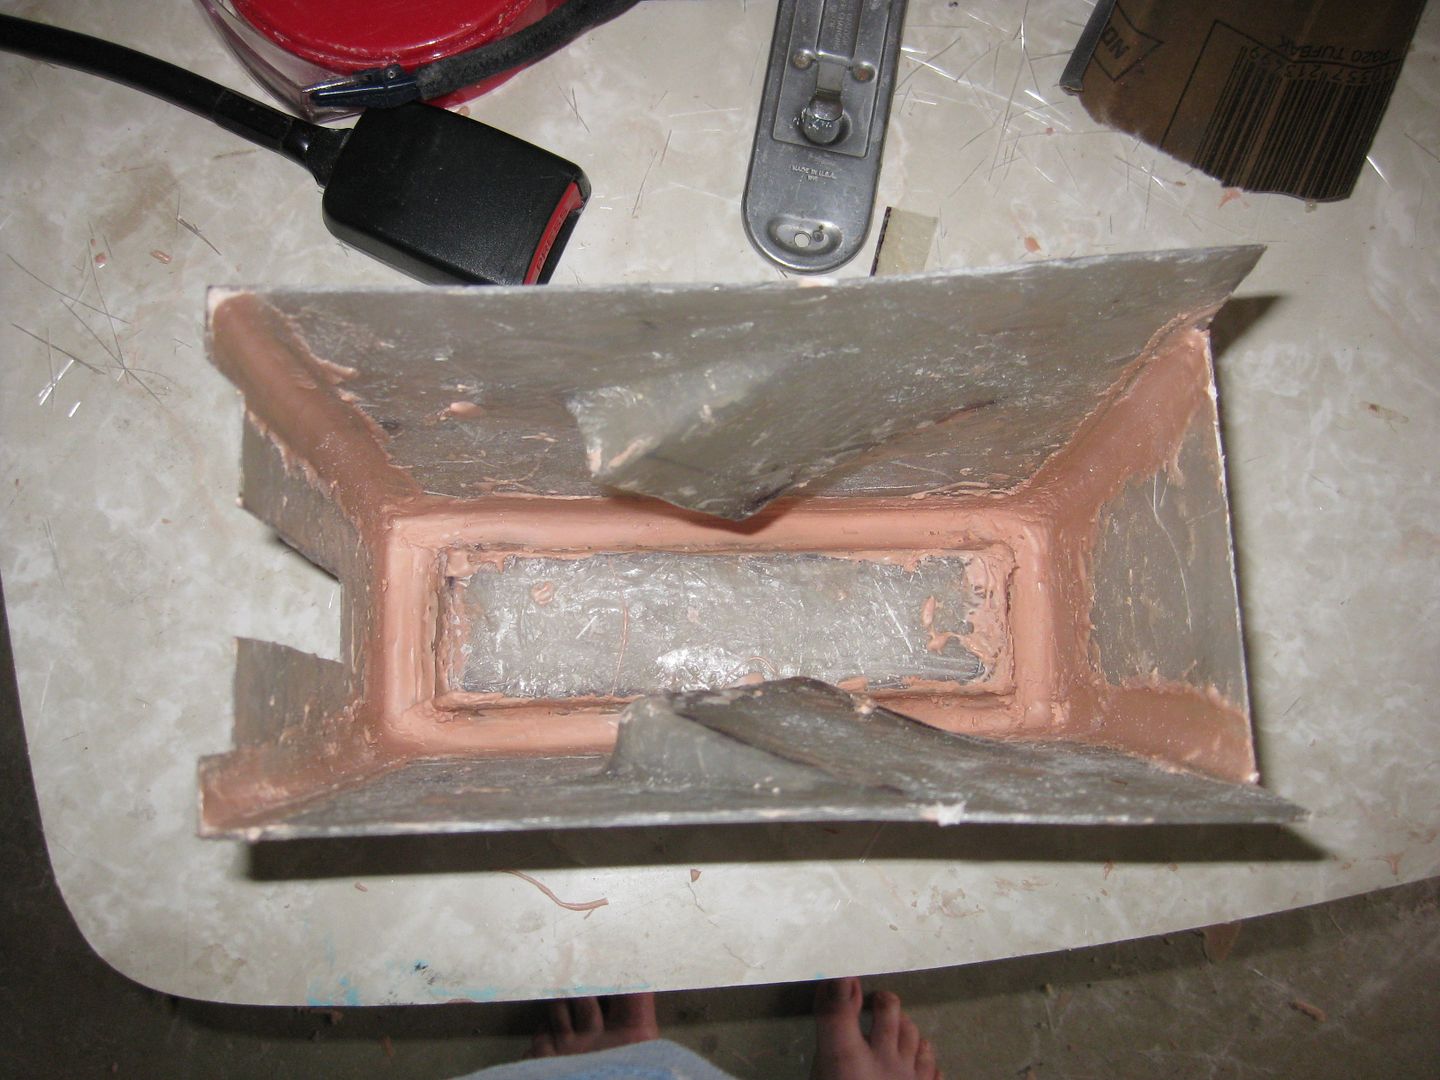
I didn't take any photos of fiberglassing over the corners, but I'll try and remember when I go and work on it again. Which will probably be mid next week.
That brings me up to date.


