The Purvis Eureka Forum
Friday, 29 March, 2024, 07:33:01 PM *
Welcome, Guest. Please login or register.

Login with username, password and session length
News: FIND US ON FACEBOOK
http://www.facebook.com/groups/purviseureka/
 
   Home   Help Login Register  
Pages: 1 ... 10 11 12 13 [14]   Go Down
  Print  
Author Topic: My F4  (Read 142987 times)
0 Members and 3 Guests are viewing this topic.
CyCo
Moderator
Sr. Member
***
Offline Offline

Posts: 1714


WWW
« Reply #195 on: Sunday, 03 November, 2013, 08:51:44 AM »

And we found out something very interesting. Some may have noticed the oil cooler mounted between the engine and the rear of the car. I was told it was an oil cooler. But it isn't. It's another radiator. Looks like it is either a re-purposed oil cooler or air con do hicky. But when it was disconnected, it was holding 4 liters of coolant! My car takes 10 liters, now we know why. Will also go some way of explaining why it almost never leaves warm up cycle, had two radiators (and an intercooler).

Hey Richard,
I think I could have used one of them "oil cooler or air con do hicky" things on my reek at Bathurst. It may have kept it a bit cooler and Ted would'nt have been coated in oil. LOL


That may have indeed helped!! Mine has had a history of not getting up to temperature, so it will be interesting to see how it goes without that 'do hickey'.
Logged

Eureka? Youbetcha!   8]

CyCo
Moderator
Sr. Member
***
Offline Offline

Posts: 1714


WWW
« Reply #196 on: Sunday, 03 November, 2013, 09:08:54 AM »

Ok, I've done a little more work on this. Not actual fiberglassing, but still moving forward.


Pocketeses! What's the pocketeses for, my precious?

Seatbelt clip. The bit attached to the tunnel. Not to totally recess it, but to give it some more room. At least, I hope so. I made up another flat sheet around 10" square so I can make up some other flat sections I have in mind for this. What doesn't get used will be spare flat fiberglass sheet. The pockets are just held together with hot glue. I plan on a little bit of fiberglassing behind the pocket, and maybe a little on the outer side. Not 100% sure on that yet.

Oh yeah. I have no full sized clamps, and I can't find my set of hobby clamps, which would have been perfect for this project. Shame, they were a old cast steel set too. So I'll be buying some clamps, but I was already on planing to get some anyway. So I just tacked them to the table top with my hot glue gun, hopefully so they'll keep their shape. IE, flat.  lol
Logged

Eureka? Youbetcha!   8]

CyCo
Moderator
Sr. Member
***
Offline Offline

Posts: 1714


WWW
« Reply #197 on: Wednesday, 27 November, 2013, 01:08:47 PM »

Ok, it's been a couple of weeks since my last update on my handbrake thingy. But I have been working on it in bits and pieces, and kept leaving the camera in the garage. lol Oh, there was a kinda secret squirrel business, but it really isn't that secret, as I understand it's fairly common in fiberglassing, at least in boating circles. 

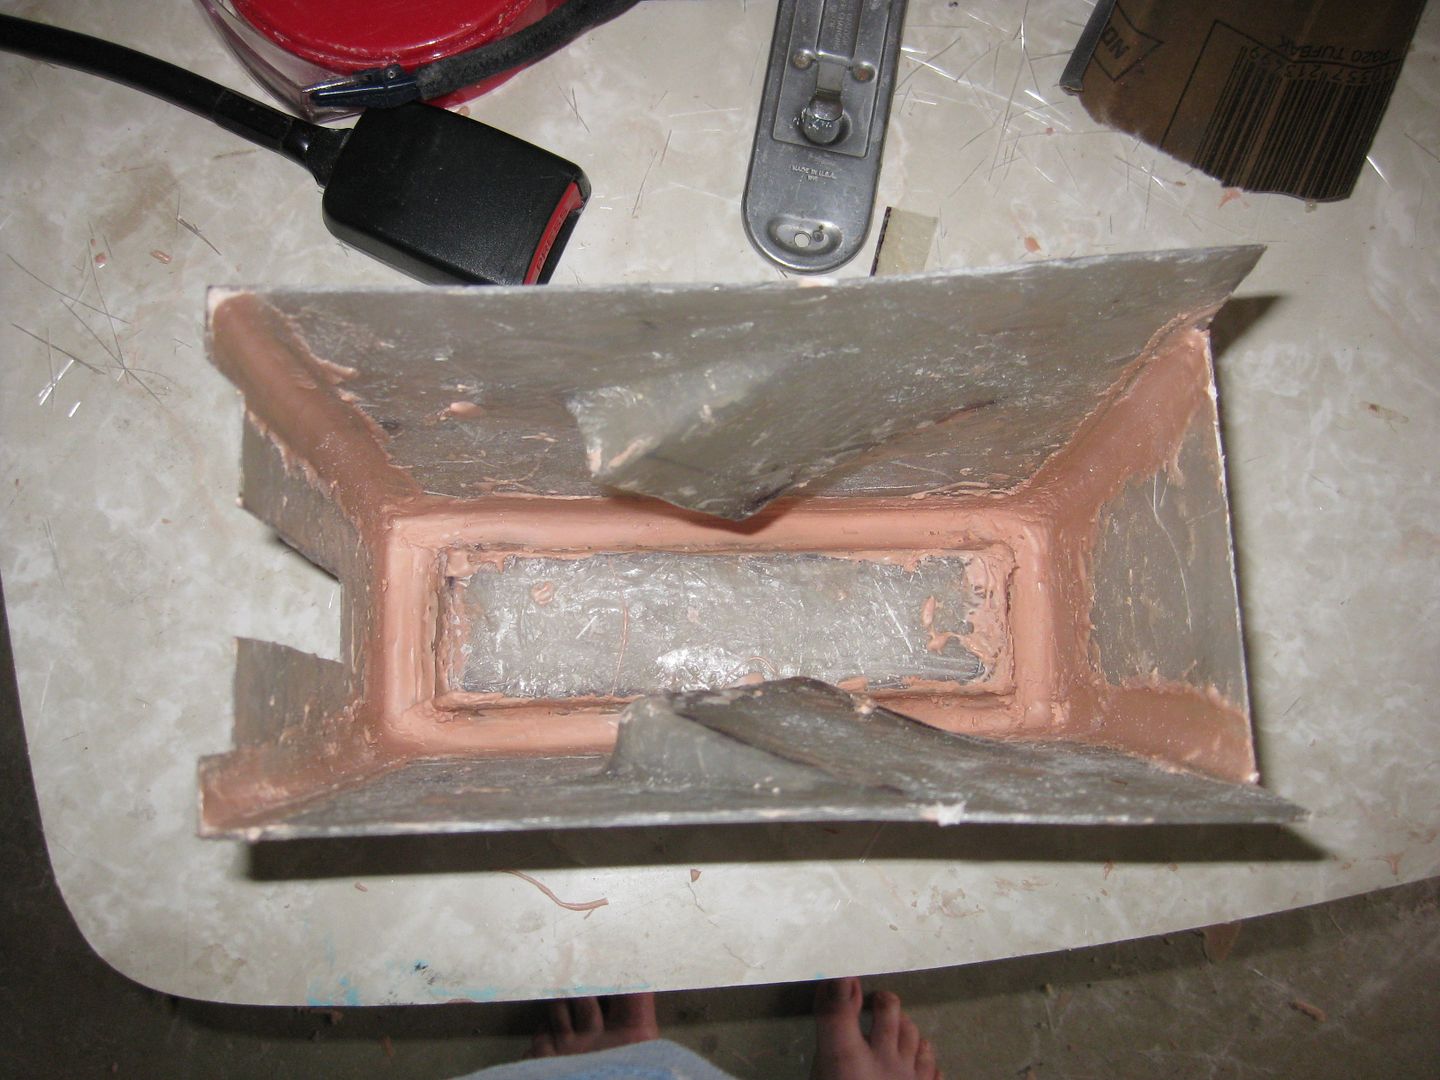
So, so I glassed in the back of those pockets for the seat belt clip to make sure they're good and strong. Had some issues with bubbles, wasn't sure if it was because I used hot melt glue to assemble them, or it was reacting to the permanent marker I used to mark out where I was making my cuts (could see it 'bleed' when the resin hit it), or most likely, just my lack of skill. I let it dry and then hit it with my dremmel to open the bubbles up and filled them with resin, which seemed to work ok. Not that it matters much, as this side will be on the inside. So you won't see it anyway.


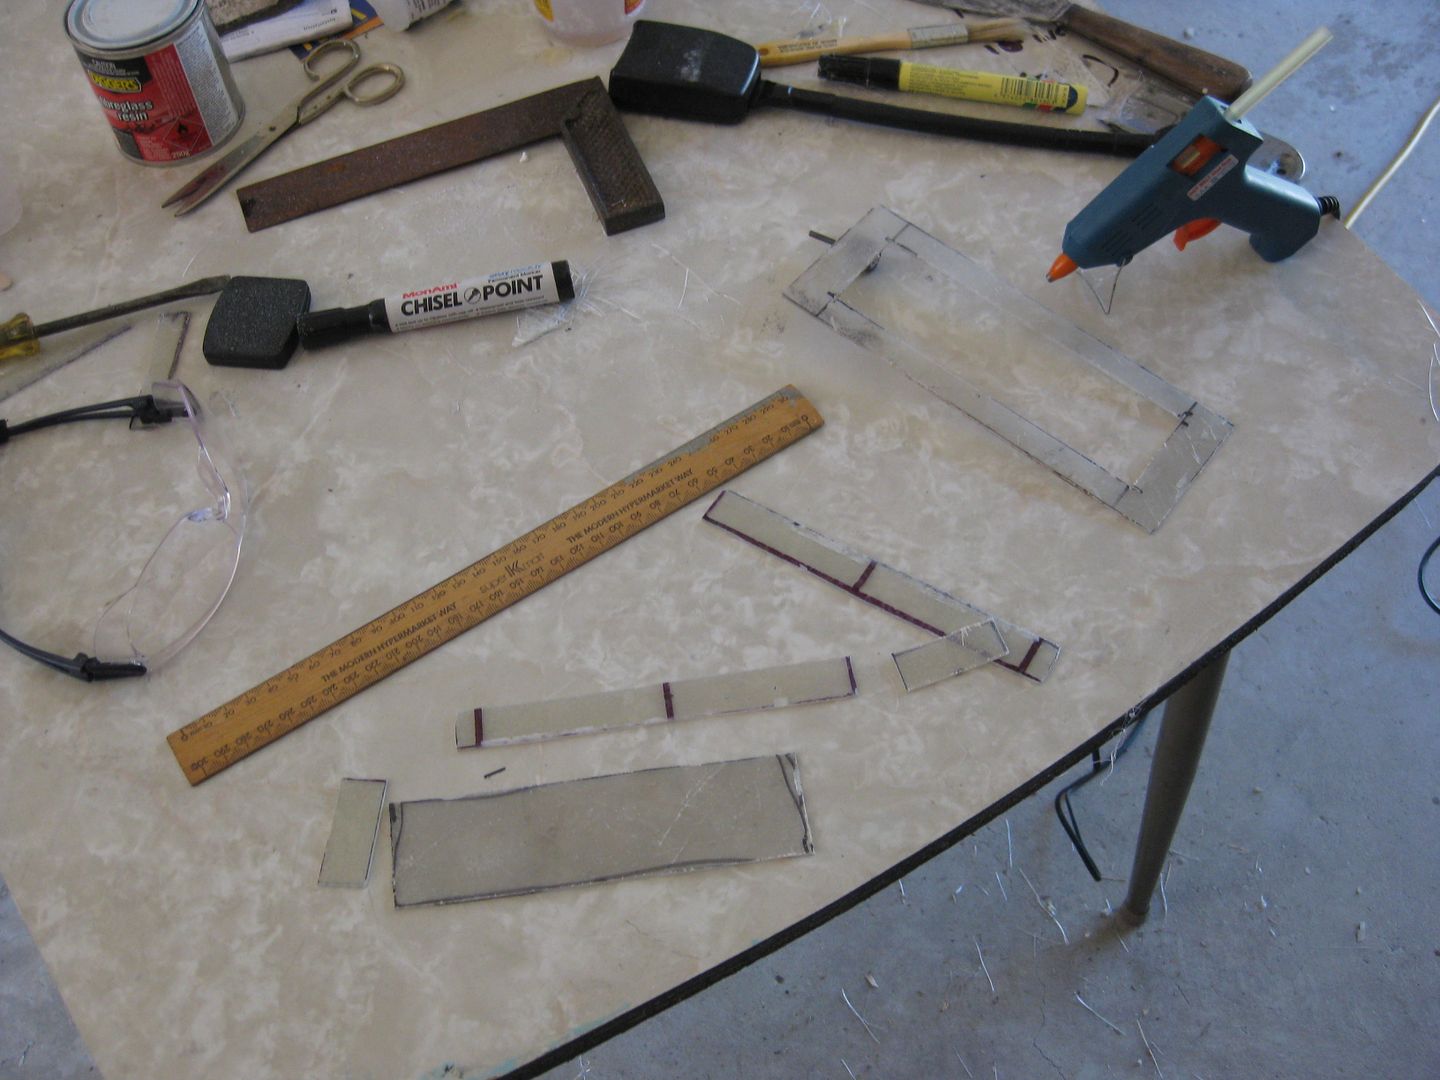
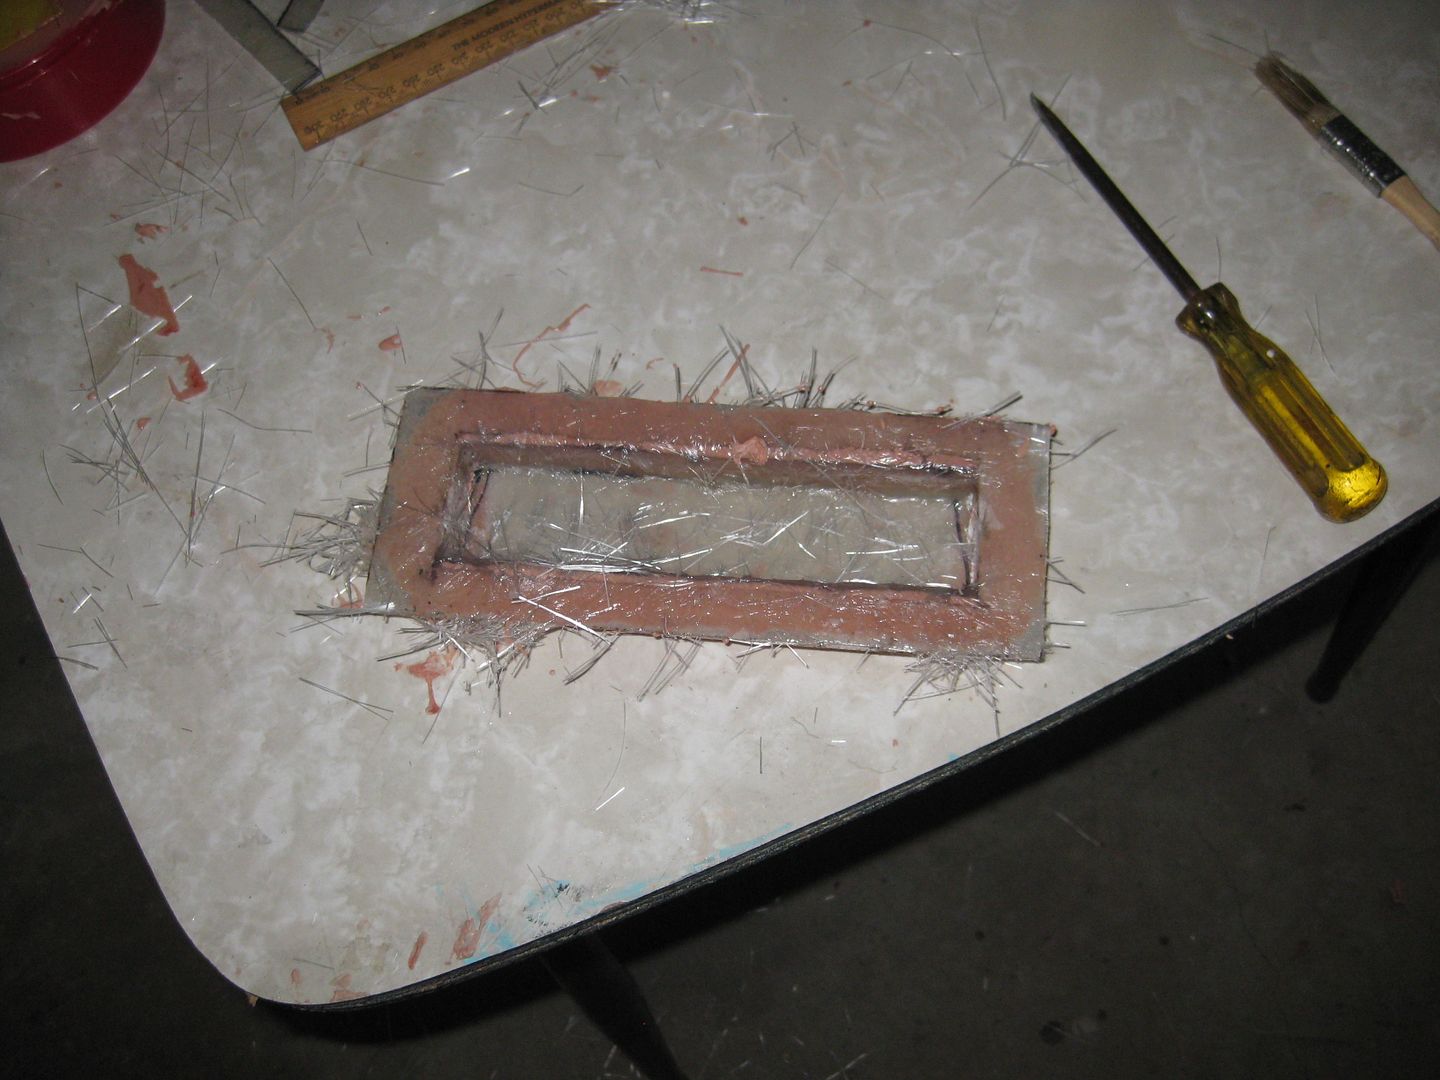
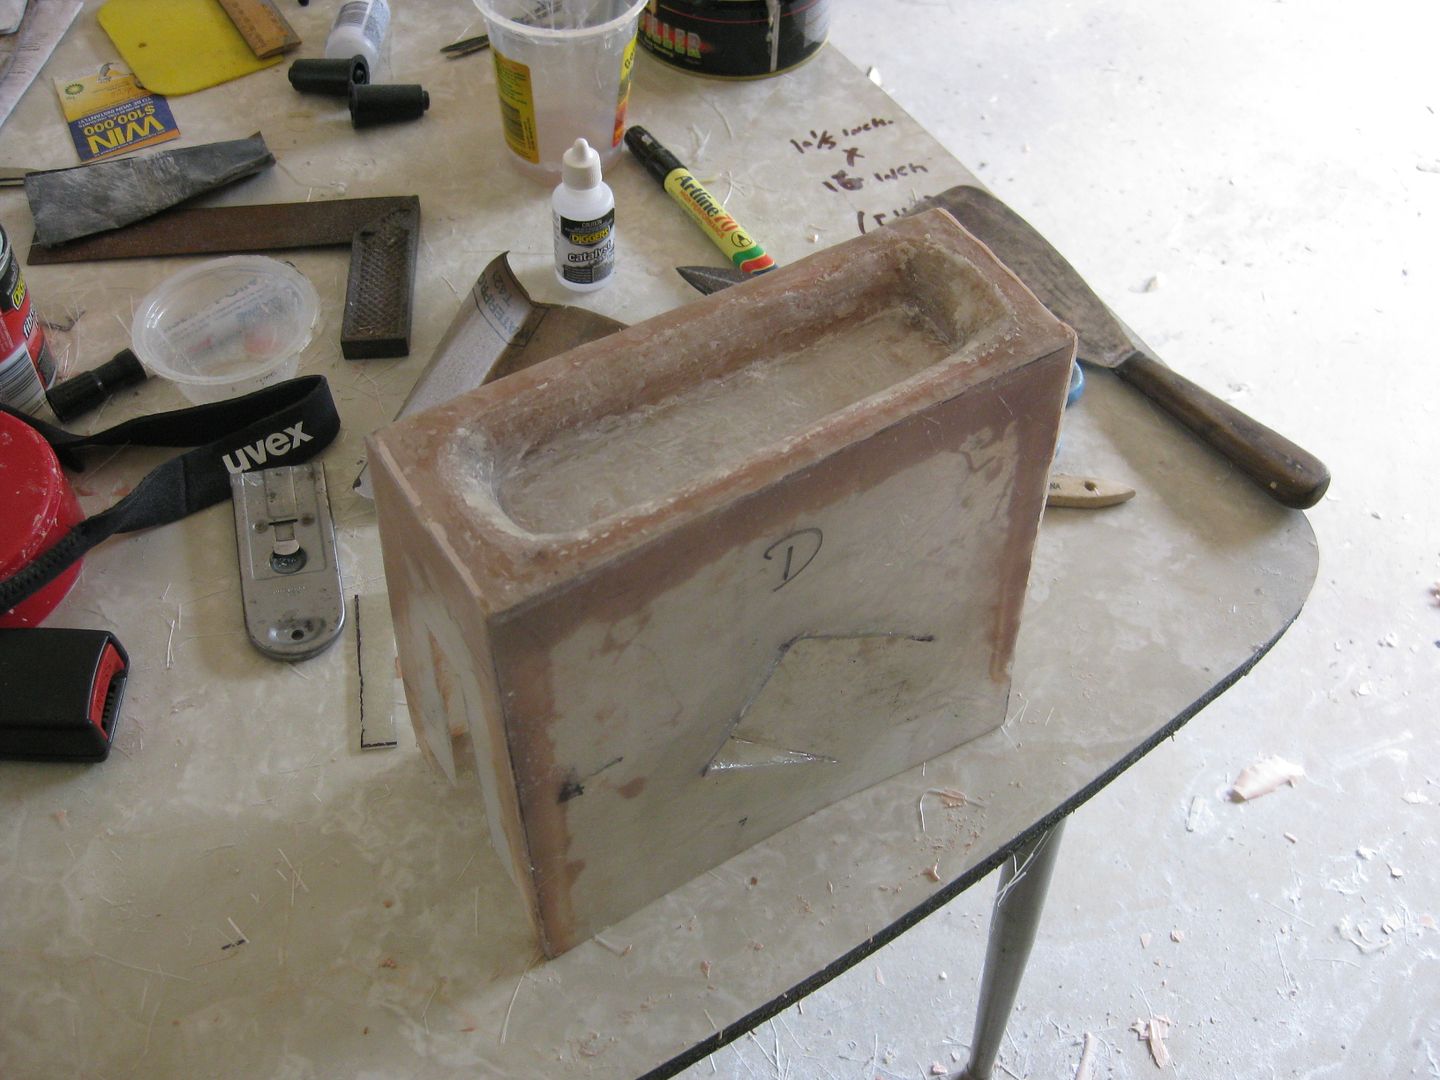
Then I had an idea that wasn't in my original plan. A recess on the top to keep small things in, like loose change for example. So I then cut a piece out of the top section, and went to work in making a recess into it.


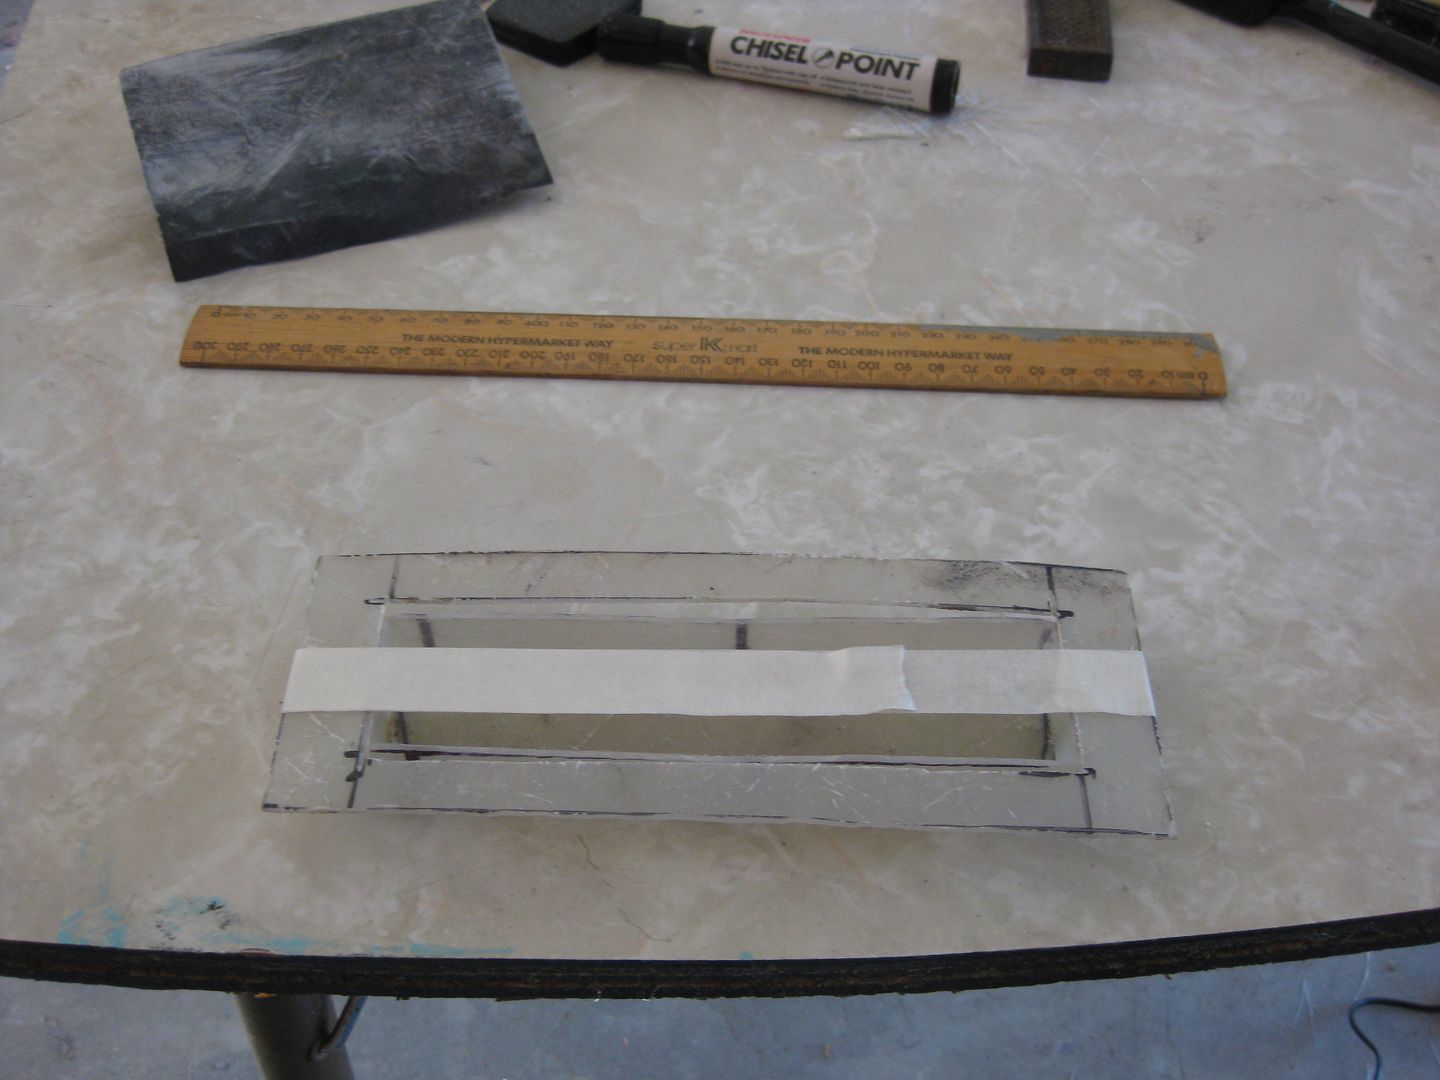
Used some tape to hold it together to give me an idea of how it would look.


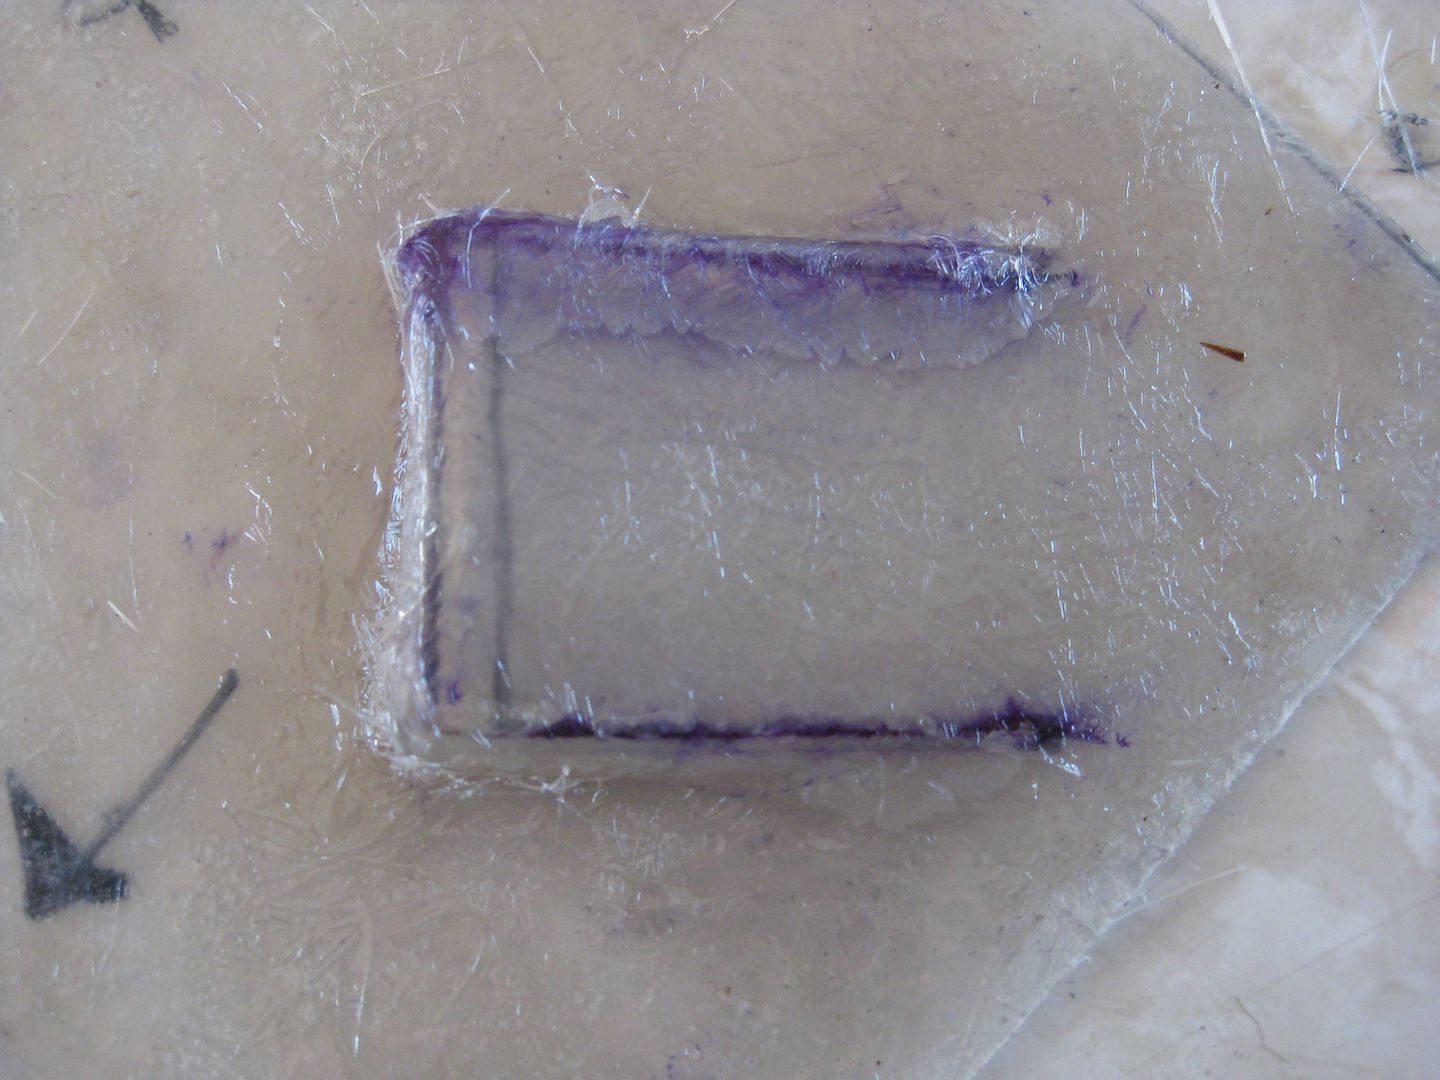
I ended up with some gaps between the upper surface and the inner sides. Didn't worry me much, as this is where the secret squirrel bit comes in. You can use body filler to get a radius curve in the fiberglass.


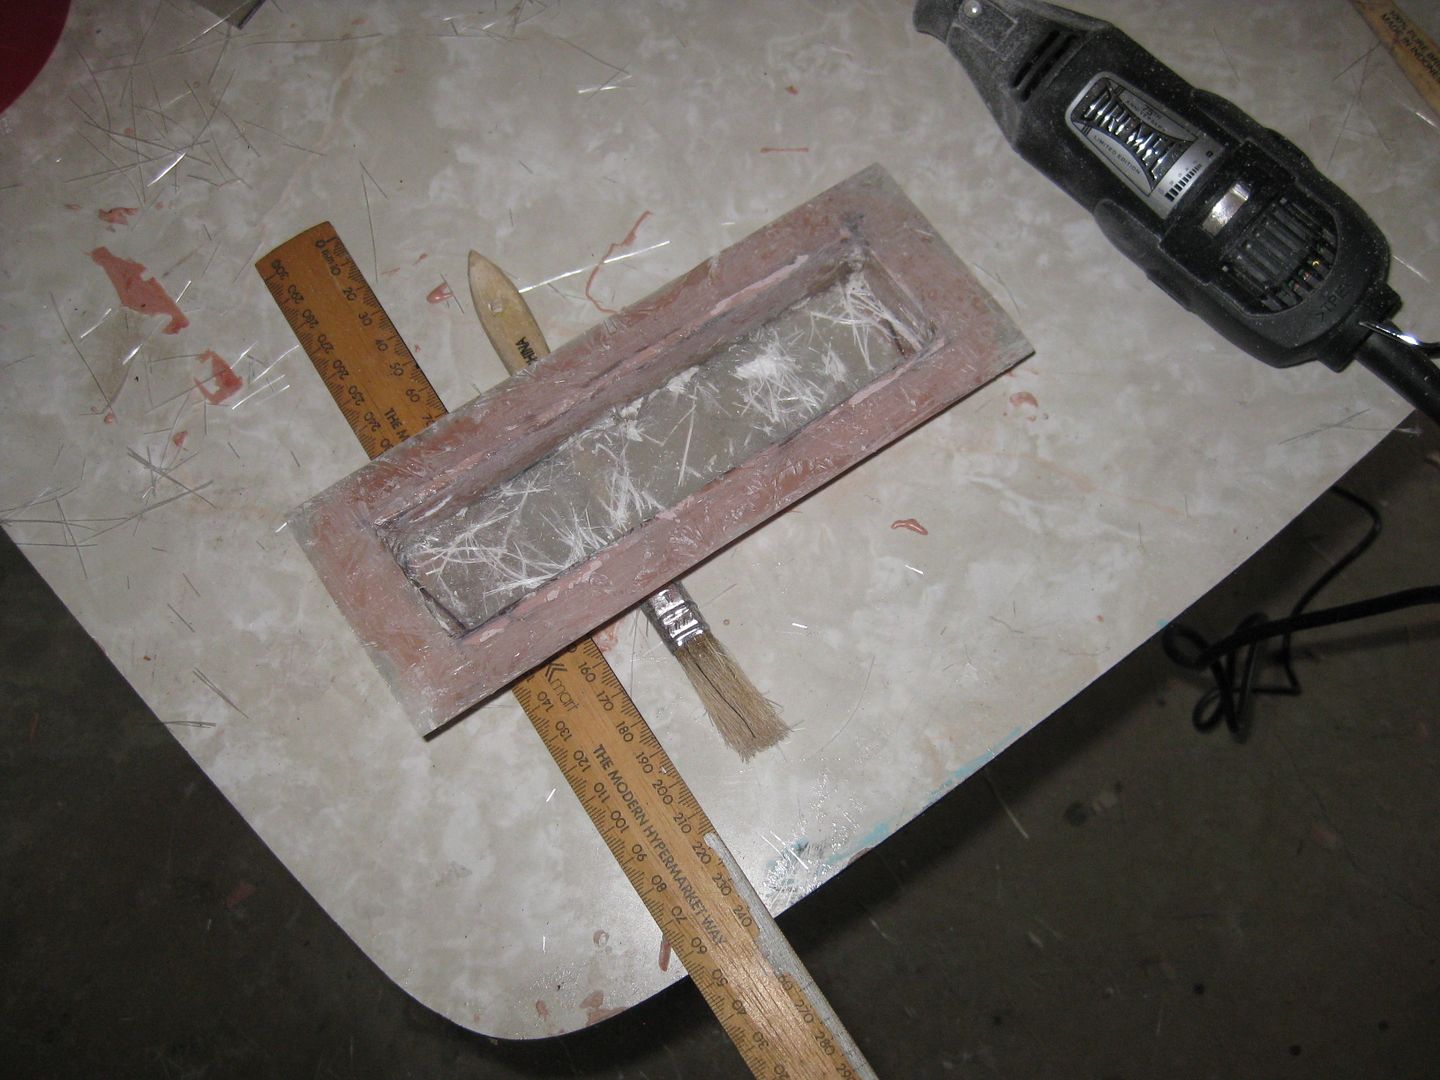
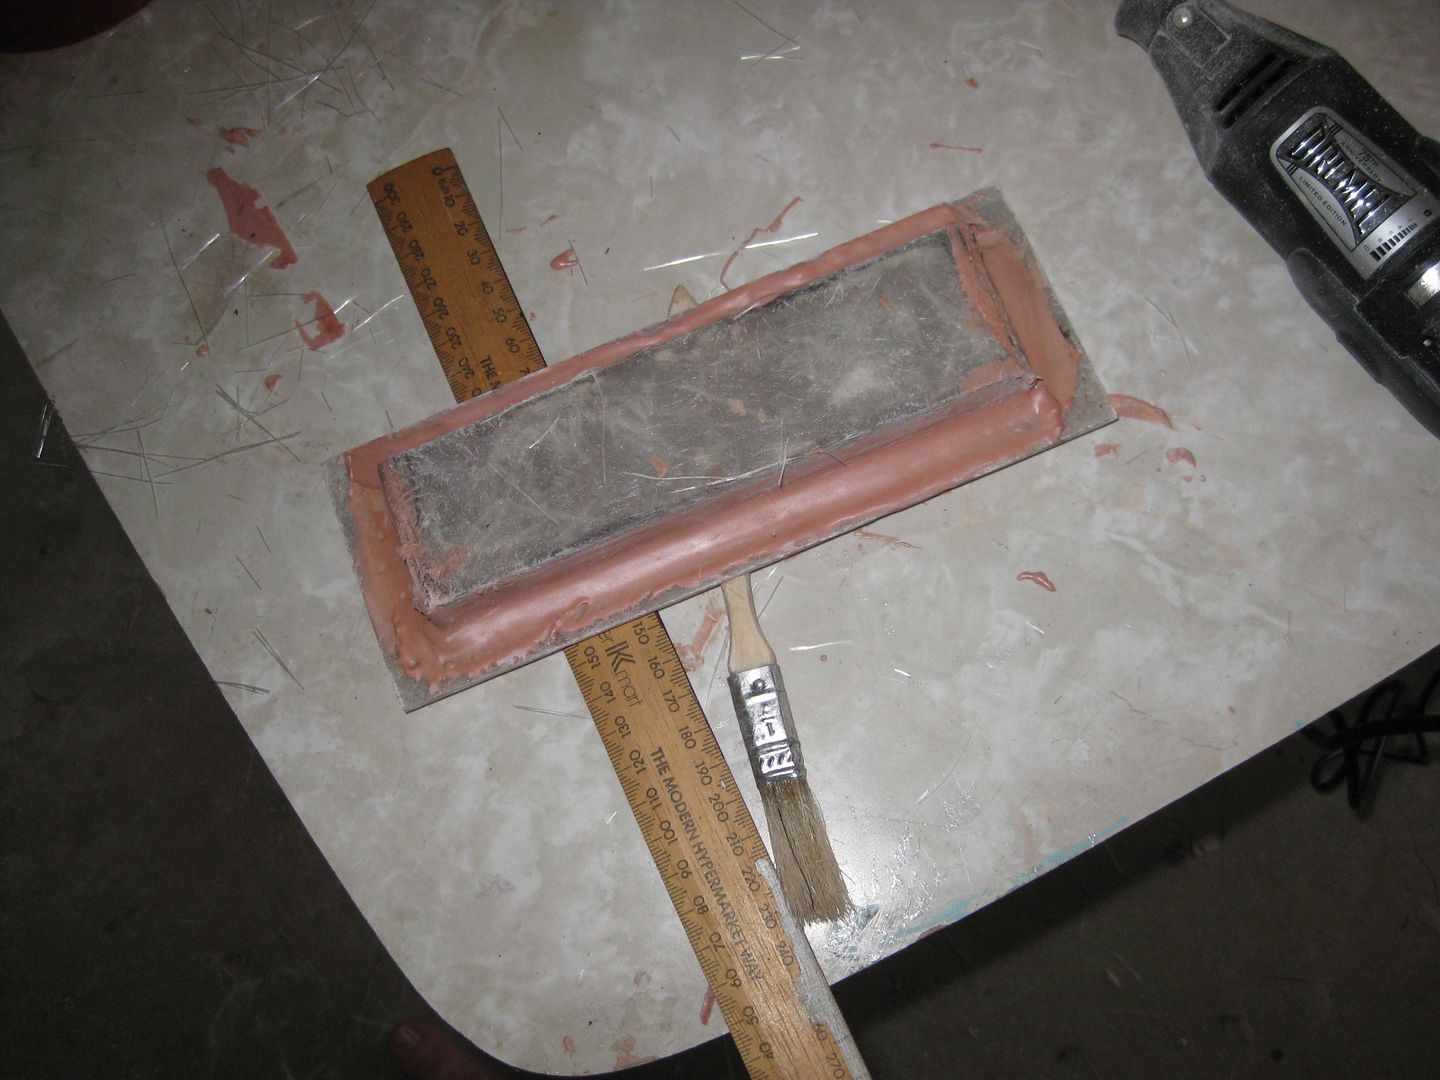
Still, I thought I'd add some fiberglass to the top as well as underneath to get some extra thickness.


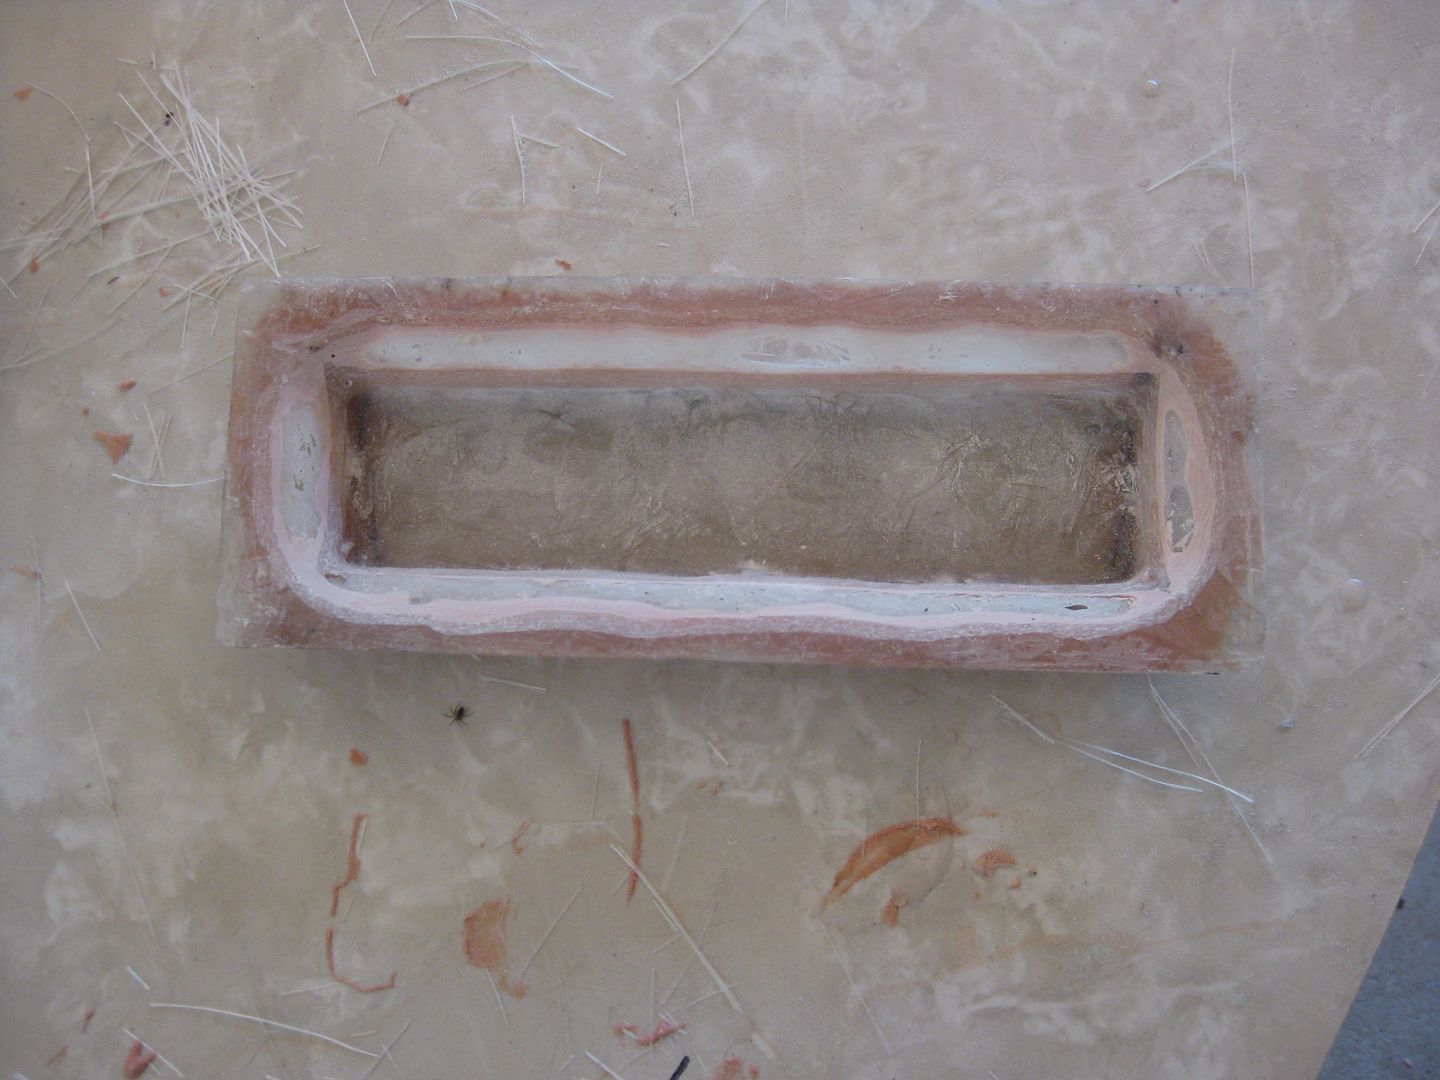
Before the next step, thought I'd clean the part up so I can see what's going on.


I forgot to get photos of the next bit, but basically I laid up some fiberglass over the body filler.

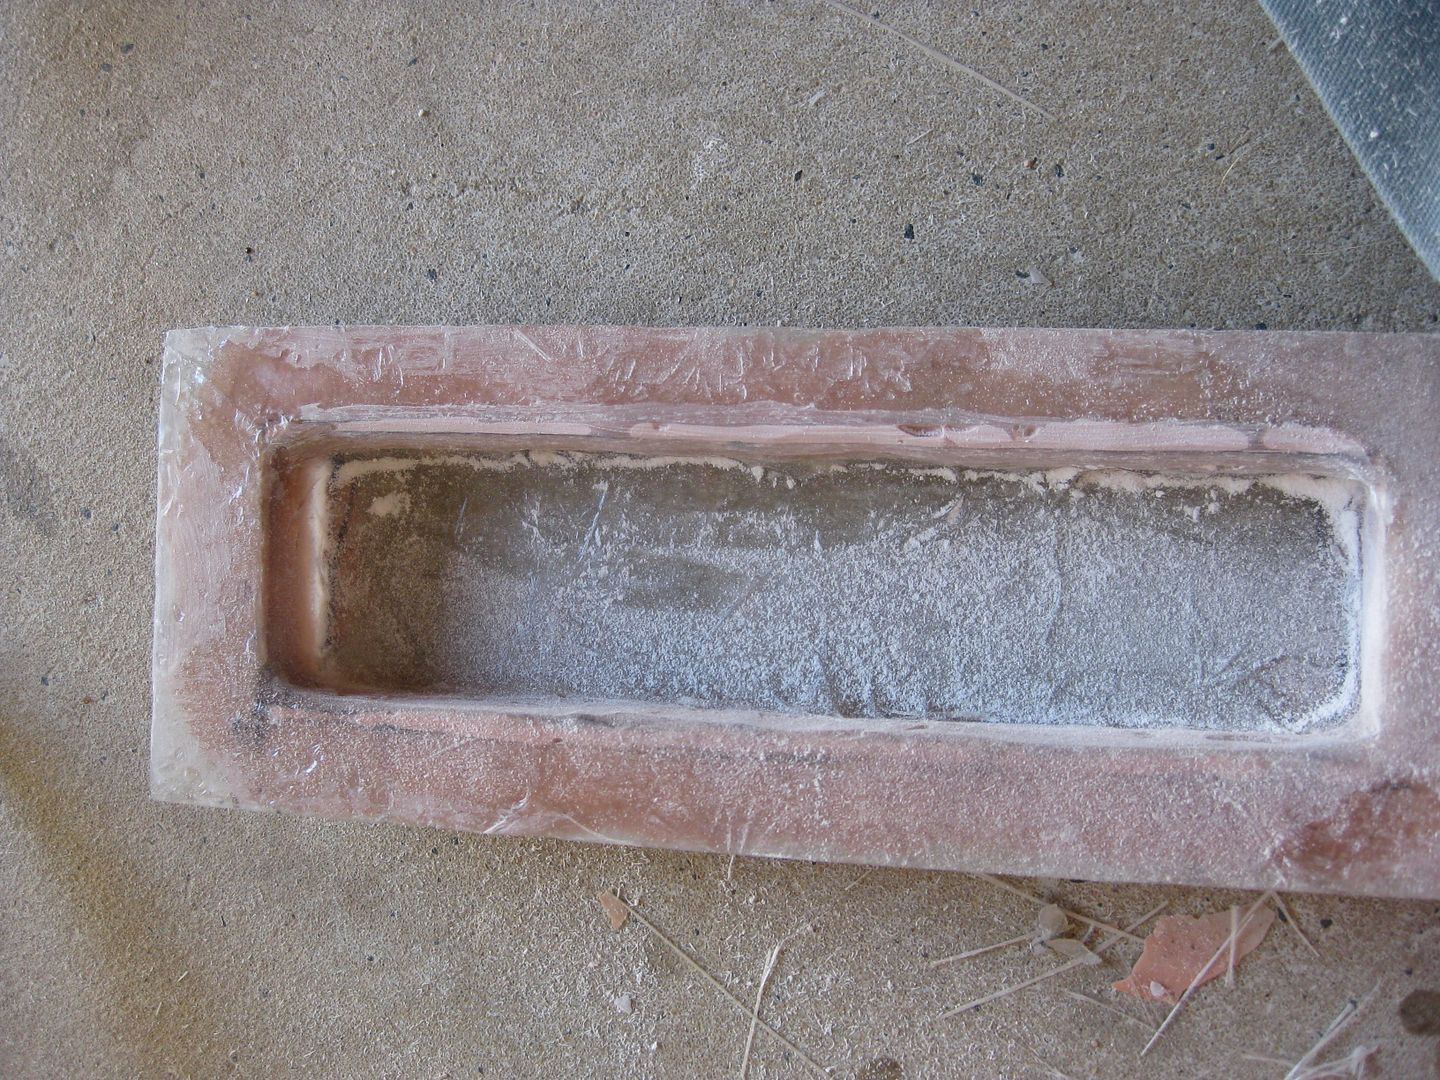
The next bit is the second bit of the secret squirrel bit. You then grind/sand the fiberglass on the top to get through to the added fiberglass underneath. The idea being that you grind/sand though the outer fiberglass then the body filler, leaving you with the fiberglass under the body filler, and a radius curve or at least a nice rounded curve.

I probably should have left it at this stage, and bugger the body filler and extra fiberglass.


And instead, I got carried away.


Some areas under the body filler the fiberglass was thin, and I sanded straight through it in a flash. So I ended up adding more fiberglass back on top of the piece, so I could then have another crack at it. I didn't take any photos of this stage. I added several layers of fiberglass and then sanded/ground it back down, but the curve isn't as bad as the first attempt. Still too much of a curve, but that's cool, I can live with it.

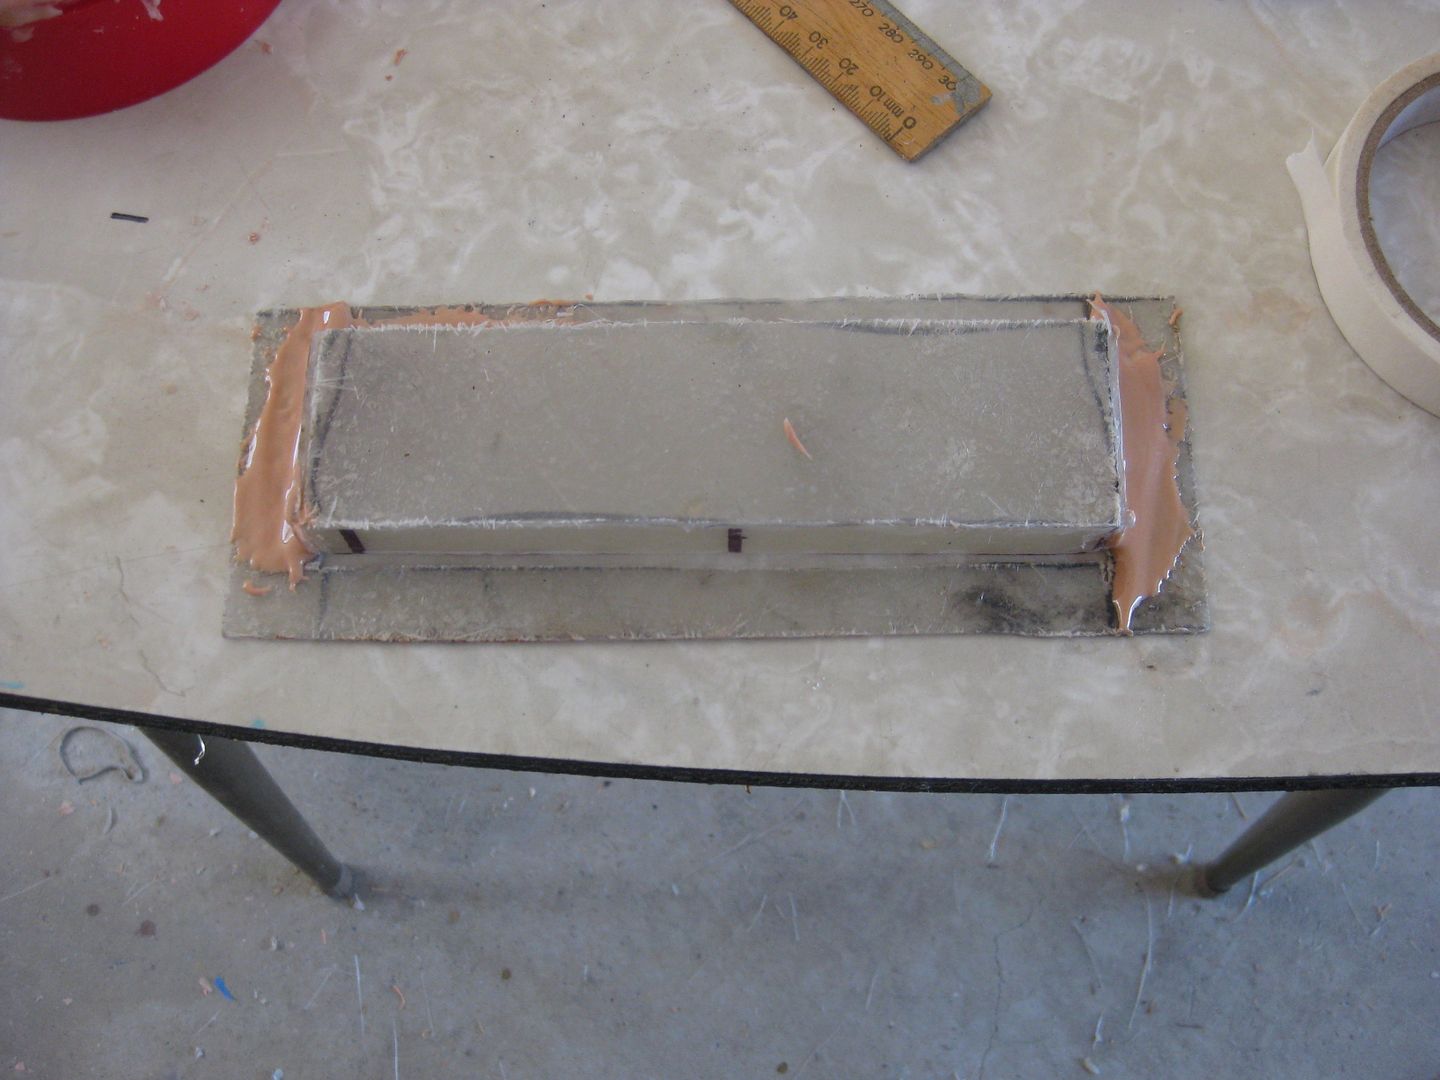
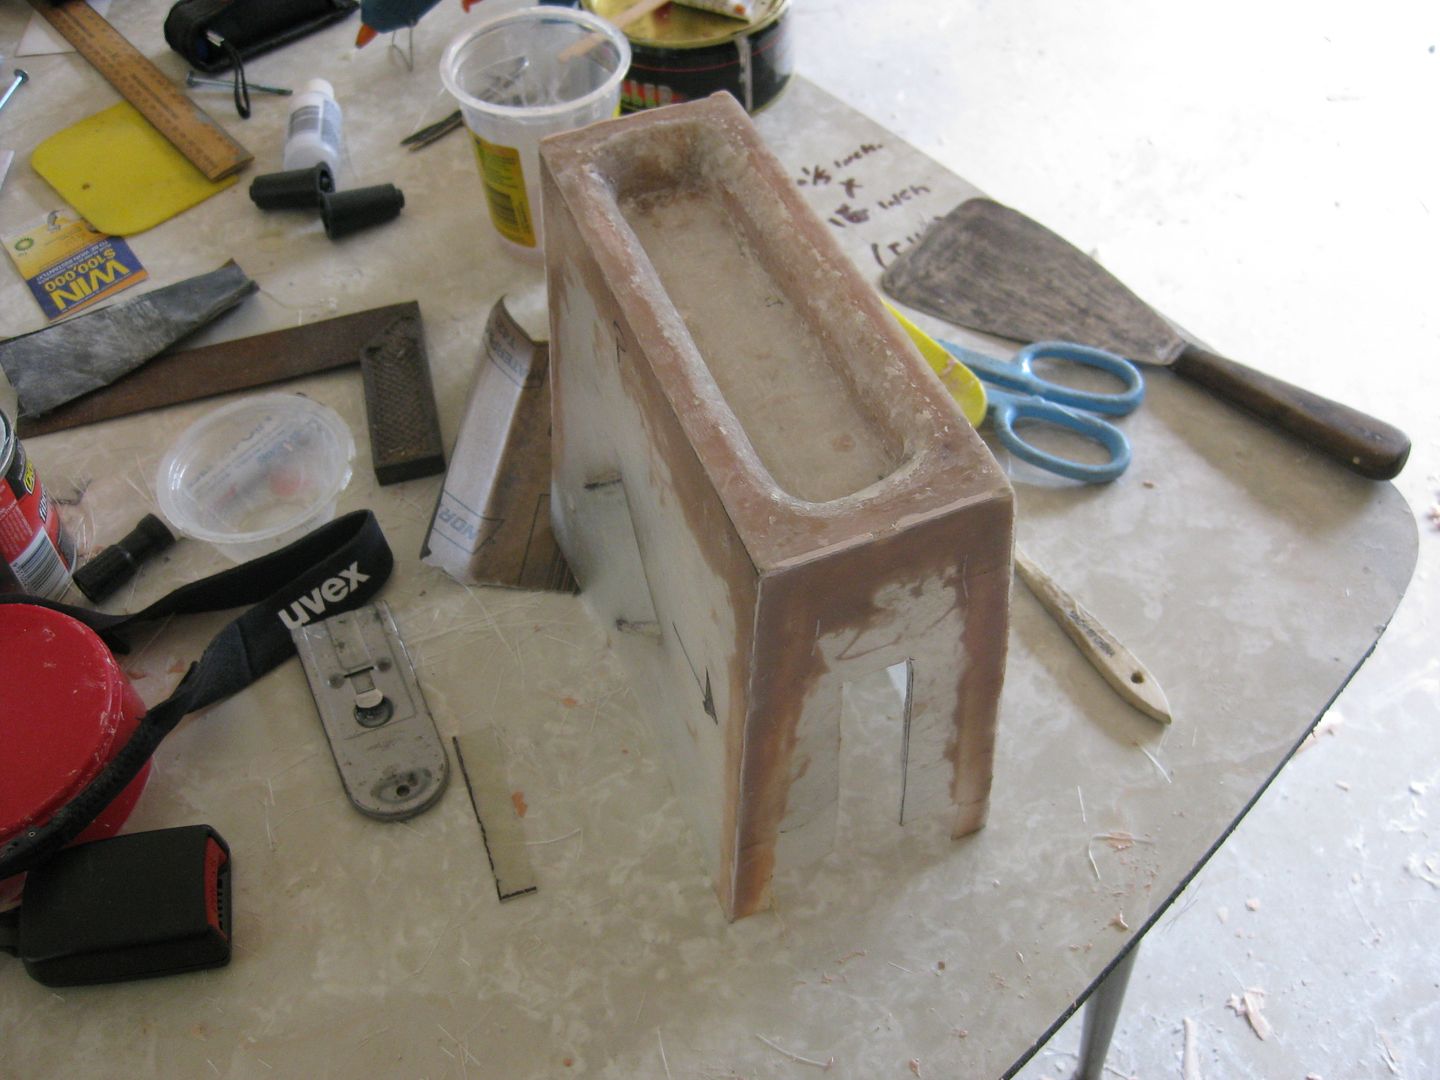
I also tacked the assembly together with hot melt glue, and then hit the undersides of the corners again with body filler. And today, I was a bit bored so I decided to go out and fiberglass in the inside of the corners.


I didn't take any photos of fiberglassing over the corners, but I'll try and remember when I go and work on it again. Which will probably be mid next week.

That brings me up to date.   Wink
Logged

Eureka? Youbetcha!   8]

mr_guy99493
Forum Member only
Jr. Member
*
Offline Offline

Posts: 43


« Reply #198 on: Thursday, 28 November, 2013, 03:13:29 AM »

I had one of them arm-rest handbrake covers before, but didn't much care for it.
I ditched it for a plain old leather boot from supercheap.
Logged
CyCo
Moderator
Sr. Member
***
Offline Offline

Posts: 1714


WWW
« Reply #199 on: Thursday, 28 November, 2013, 08:48:53 AM »

The one on the car now is a ugly piece of rubber that's also torn. This was just something that came to mind to try and make. It could have been a fiberglass drink holder. The main idea behind it was to try and make something out of fiberglass and learn something new.
Logged

Eureka? Youbetcha!   8]

barsted
CLUB Member
Member
***
Offline Offline

Posts: 221


« Reply #200 on: Thursday, 28 November, 2013, 09:33:17 AM »

There is a lot of pleasure to gain from finishing your creation and saying " I made that!"

After all, Eureka is the car for the individual.

         Ted
Logged
CyCo
Moderator
Sr. Member
***
Offline Offline

Posts: 1714


WWW
« Reply #201 on: Thursday, 05 December, 2013, 12:40:48 PM »

Ok, so I have a little time on my hands and thought I should work on this some more.


I've rounded off the corners, kinda can see it in the photos. Then I added some body filler to the top. After I had to bulk up the top after 'rounding' the pocket recess too far, it left it with an uneven surface. So I thought I'd try and use the body filler to smooth it out. Will be doing some more sanding in the near future. lol


The more alert of you will note that there isn't a Eureka in the garage or my daily driver on the driveway. I find myself in an awkward place, having two cars, but both are away being worked on. Getting a dent fixed on the Camry, hopefully will be ready late tomorrow arvo.
Logged

Eureka? Youbetcha!   8]

Pages: 1 ... 10 11 12 13 [14]   Go Up
  Print  
 
Jump to:  

Powered by MySQL Powered by PHP Powered by SMF 1.1.15 | SMF © 2011, Simple Machines Valid XHTML 1.0! Valid CSS!